Introduction:
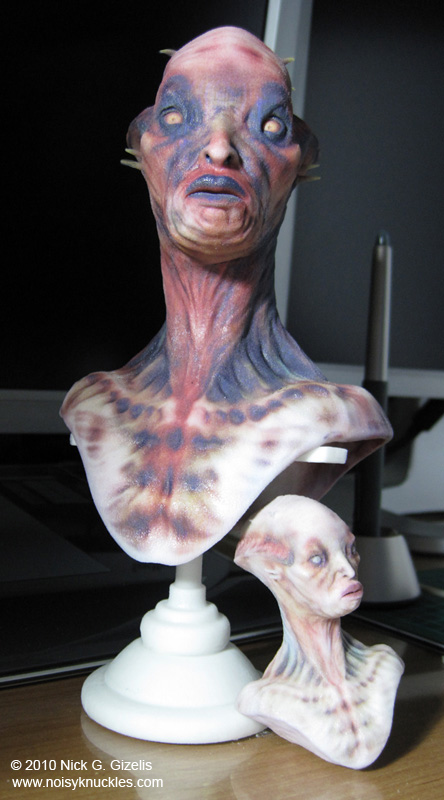
The creation of cg characters, either realistic, or science fiction ones, is always an enjoyable and relaxing activity for me, even further whenever I end up with a physical model of them in my hands.
Software used:
Softimage|XSI, ZBrush, Photoshop
Concept/Inspiration/Motivation:
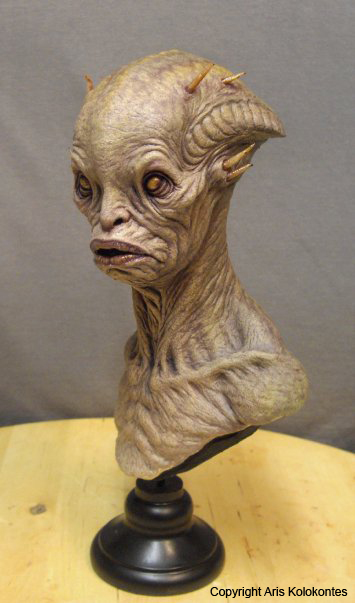
My main motivation behind Aquaman was to follow a concept by another artist for the creation of a CG character. I decided to use as a reference a bust sculpture done by Aris Kolokontes, http://www.myspace.com/boularis, an artist whose work I admire and I am inspired by. So, I selected to work on this concept, named Fishman: http://www.creaturespot.com/main/2009/12/12/fishman.html
I also decided to make some kind of jewel for the bust, to complete the concept of such a character.
References:
For the bust:
I collected several photos of the actual statuette, from every angle I could find:
- http://www.creaturespot.com/main/2009/12/12/fishman.html
- http://hphotos-snc3.fbcdn.net
- http://viewmorepics.myspace.com/1
- http://viewmorepics.myspace.com/2
- http://viewmorepics.myspace.com/3
For the jewel:
I thought of adding a piece of jewel like a pendant on the neck of the character in order to enhance the concept of a humanoid form of life coming from an other world.
I wanted to make something of classic style, made of silver, with a precious stone in colours of the deep sea, to enhance the concept of the aquatic nature of the character.
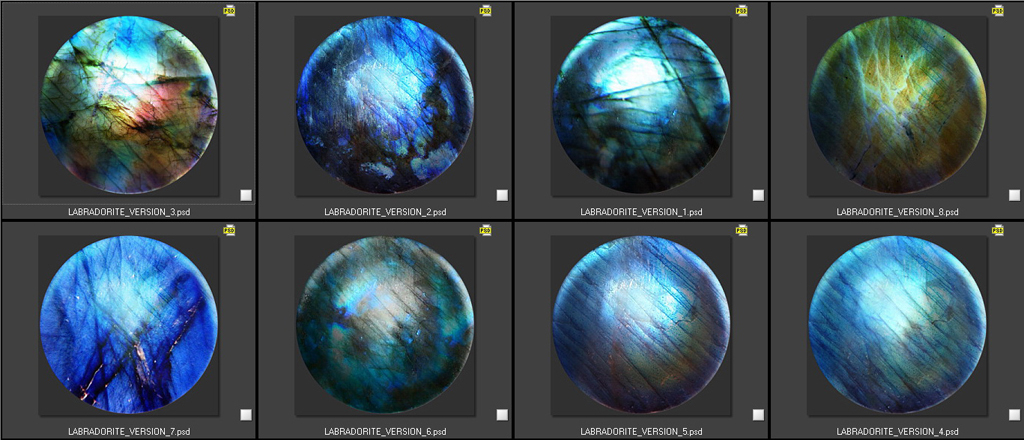
Some time ago I made a few ZBrush materials using as reference some photos of a mineral called Labradorite, http://en.wikipedia.org/wiki/Labradorite, so I decided to make a jewel based on such type of stone, which is quite iridescent and colored in greenish- blueish tones.
I did some search on the web, looking for pendants made of labradorite stones and silver. The most interesting results I got from this research were the following ones:
- http://home.comcast.net/~jimpinfield/labradorite5.jpg
- http://fc06.deviantart.net/fs32/f/2008/194/4/4/Labradorite_worry_stone_by_whitewavejewelry.jpg
- http://home.comcast.net/~jimpinfield/flourite43.jpg
- http://ima.dada.net/image/10297318.jpg
- http://lh6.ggpht.com/_XGuOcUeP030/Rssj8m2McSI/AAAAAAAAAPE/HhMLPWwpvLk/Labradorite+Goddess+gold.jpg
- http://lh4.ggpht.com/_XGuOcUeP030/RssmVG2McfI/AAAAAAAAAQw/9Q_P63iZGoU/Labradorite+teardrop+1104.jpg
- http://home-and-garden.webshots.com/photo/1233622385013904442AkUXzy
- http://www.madagascarminerals.com/prod_images_blowup/a.jpg
- http://sarahcpeters.files.wordpress.com/2009/09/labradorite1.jpg
Modeling:
Bust:
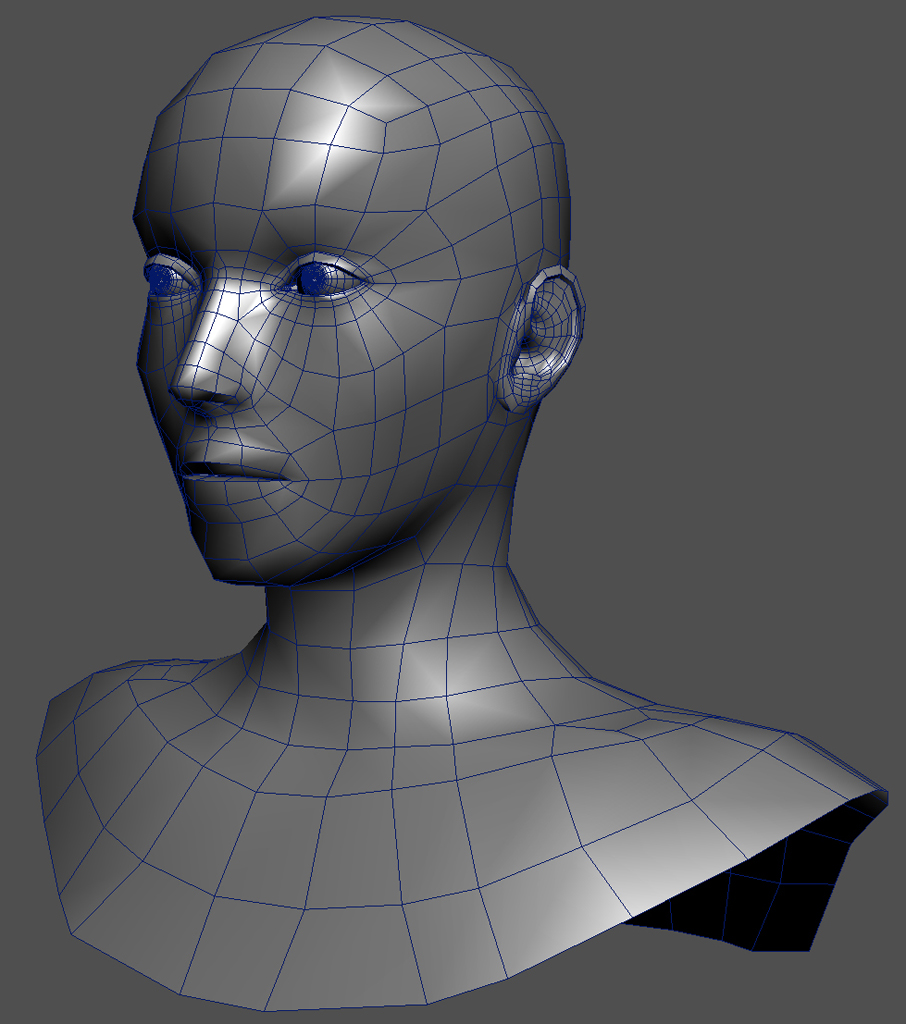
For the base mesh I used a model I made some time ago, a human female bust.
I removed the ears and modified the initial UV map of the mesh so that is more suitable for the altered geometry.
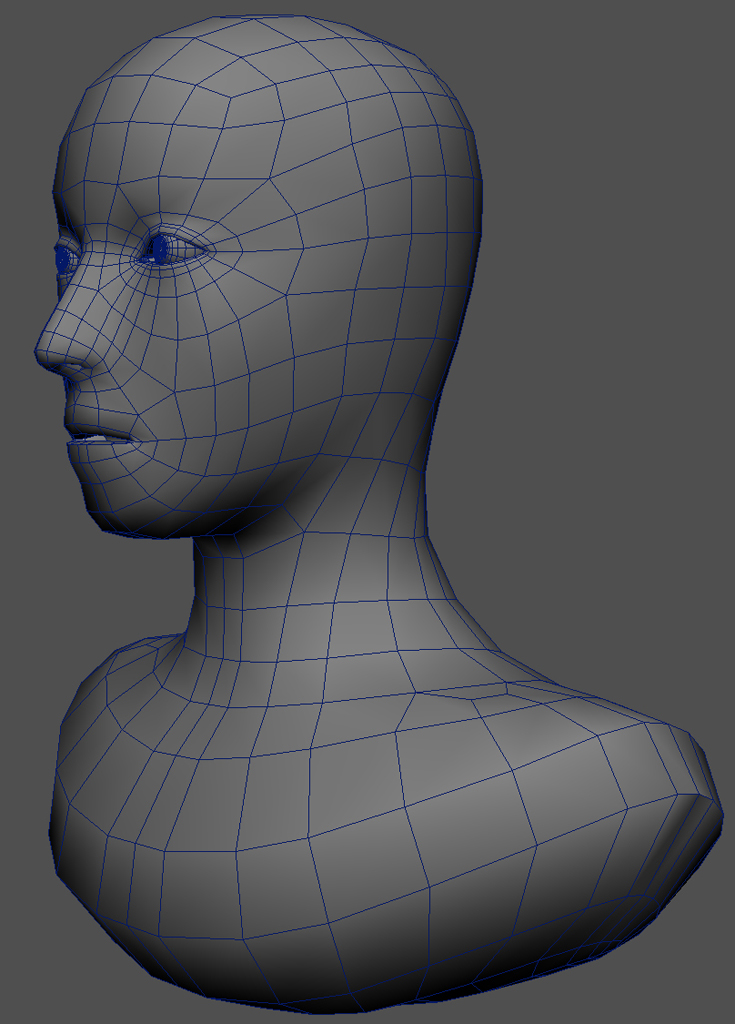
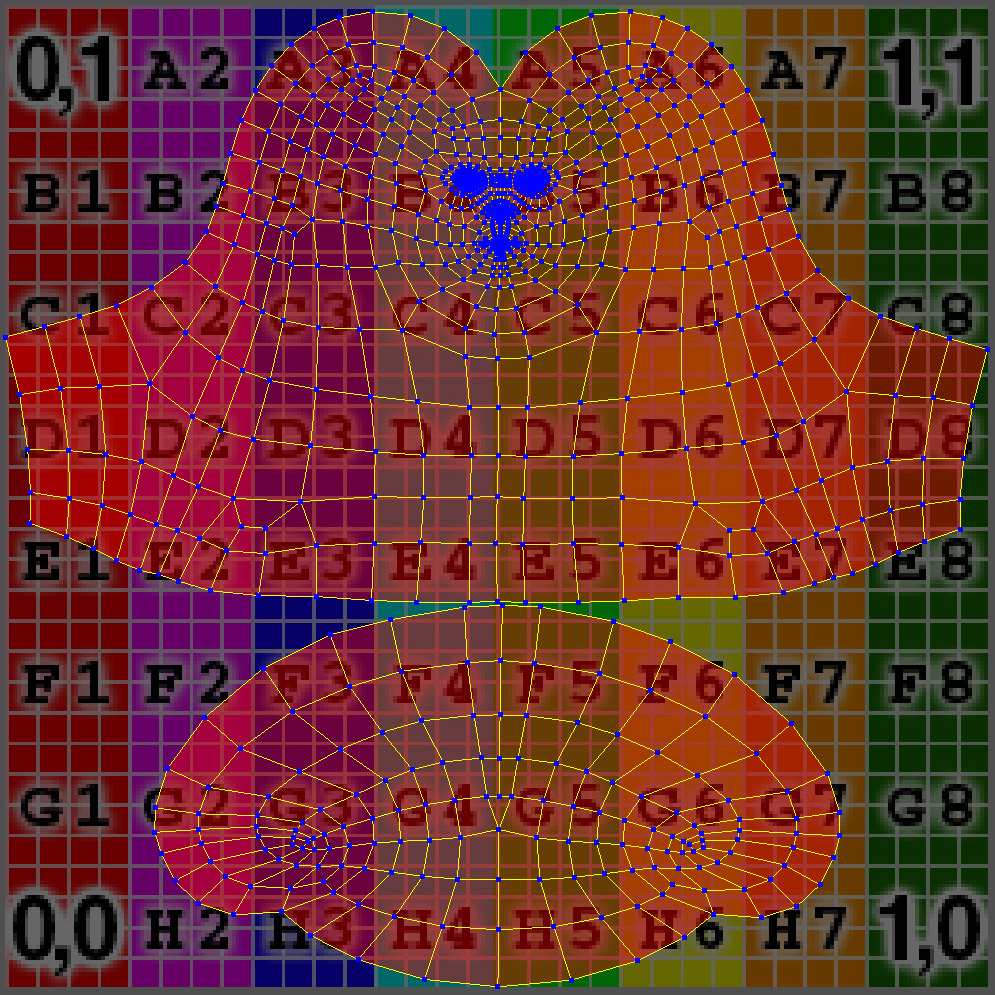
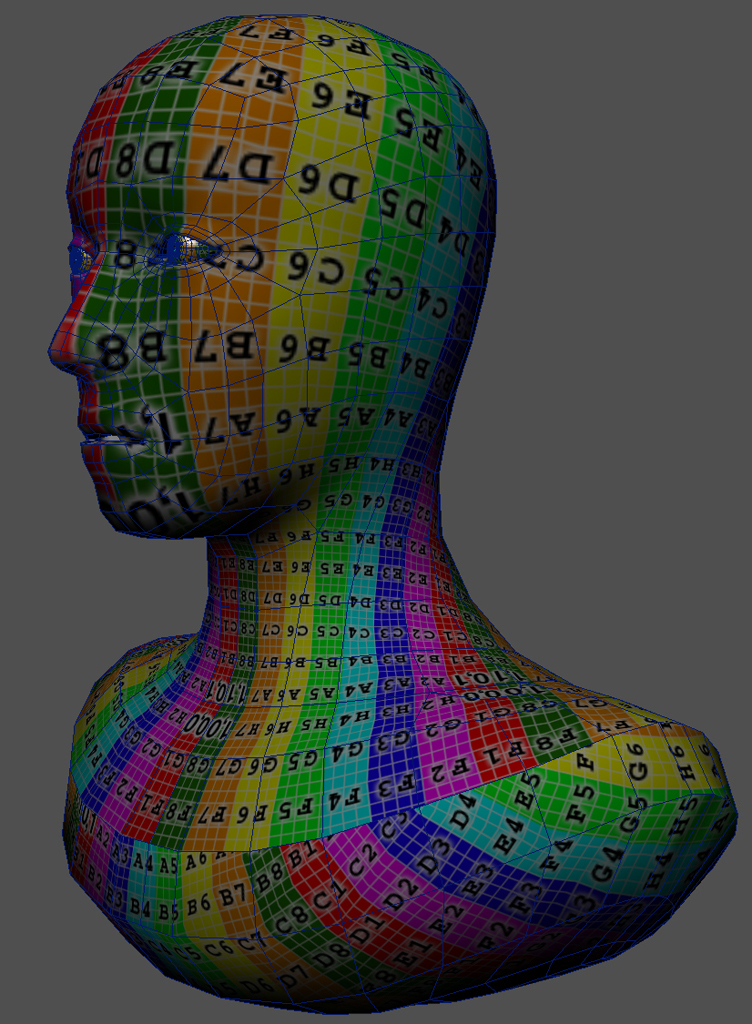
Then, I imported the mesh into ZBrush where I did some preliminary sculpting on the base model to define the basic volumes of the concept.
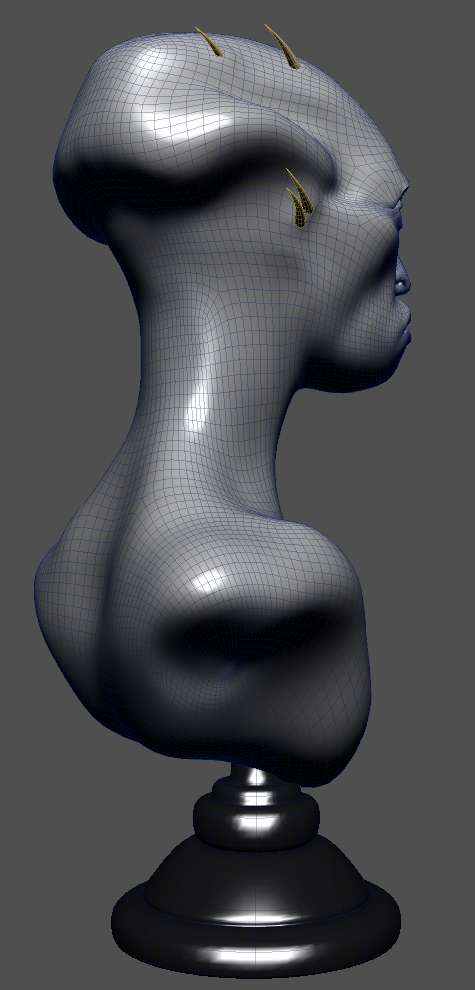
Now, I was ready to export the altered head back to XSI and put the spiky horns into place and unwrap them.
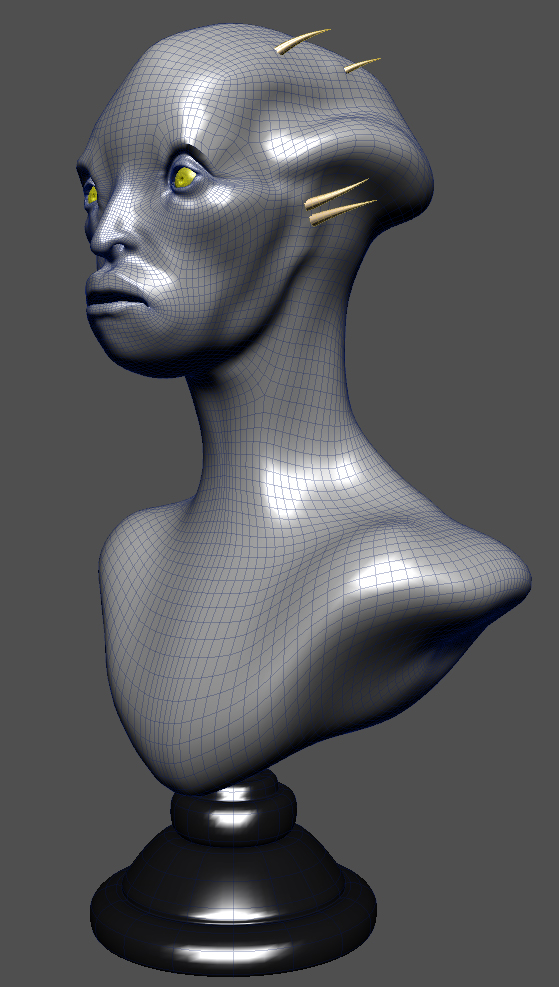
Jewel:
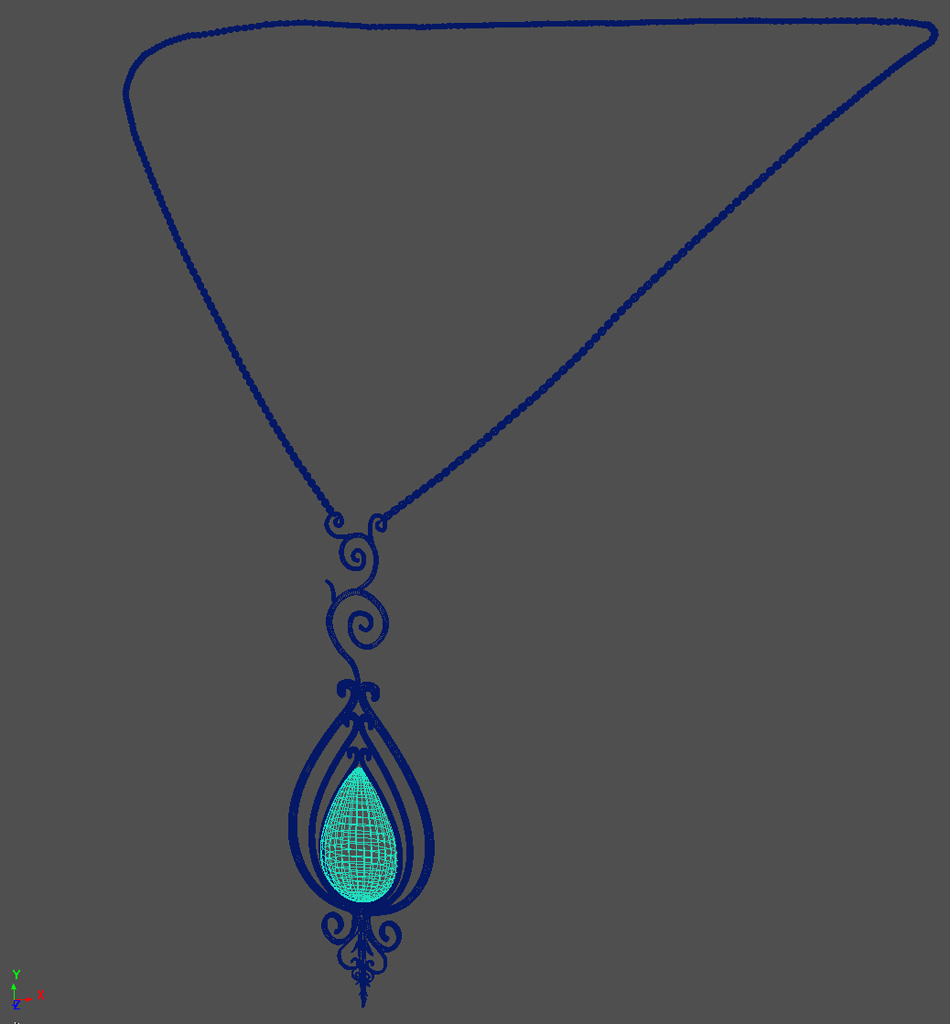
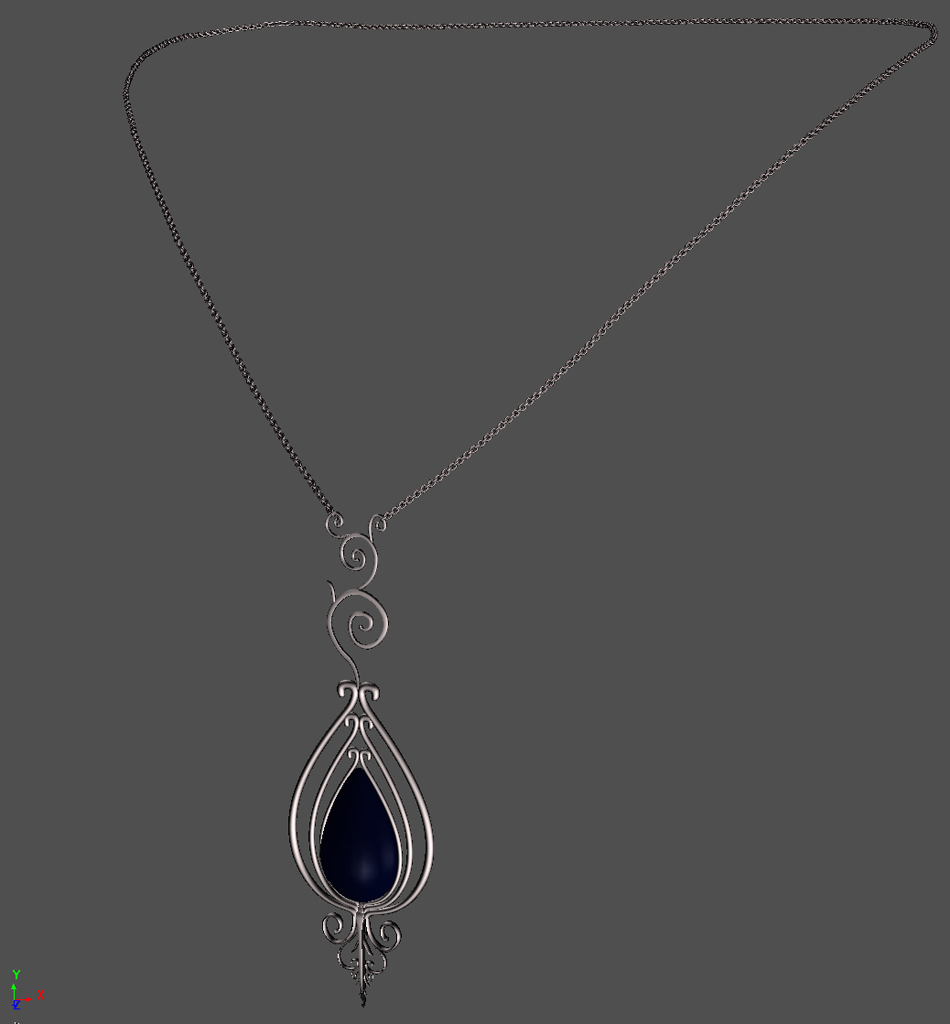
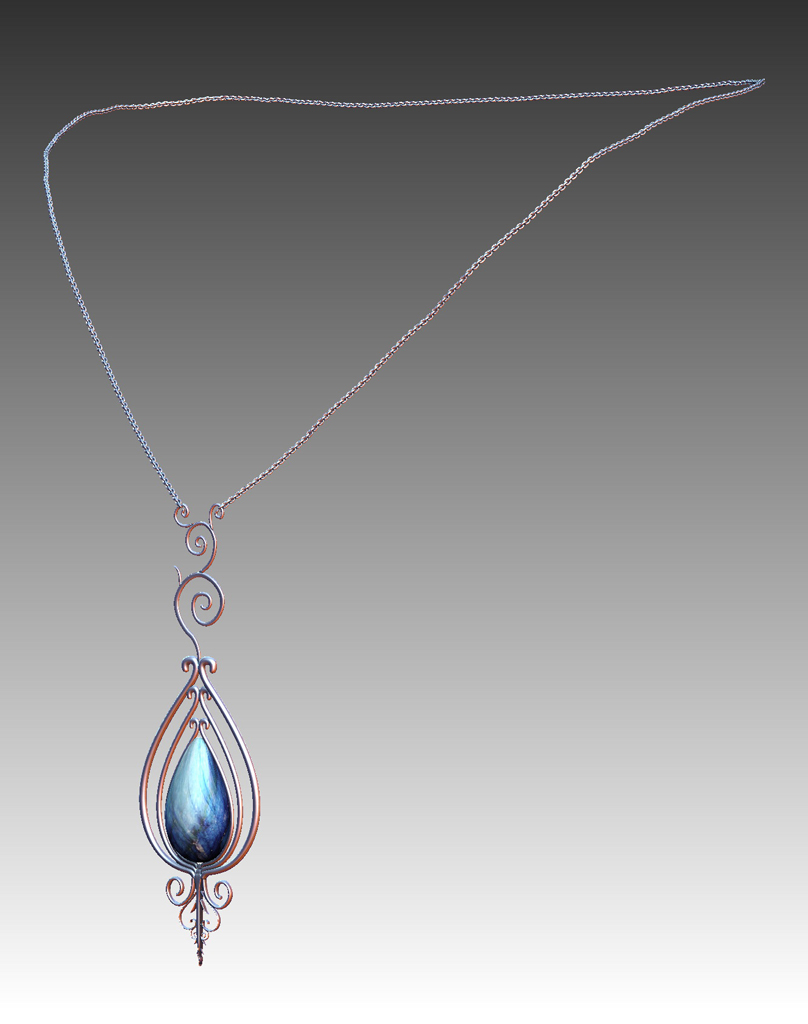
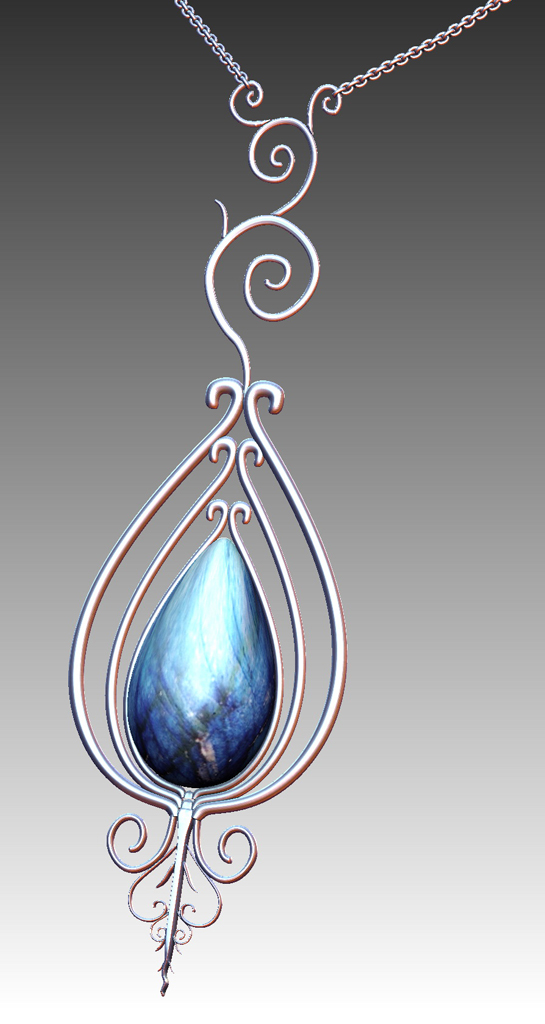
For the model of the pendant, I worked with polygon modeling tools in XSI. I made a UV map for the stone and then exported the whole pendant to ZBrush where I subdivided the model 2 times to smooth out the several surfaces.
Base:
For the base model, I did again some poly modeling in XSI and then exported the mesh to ZBrush.
Sculpting – Detailing:
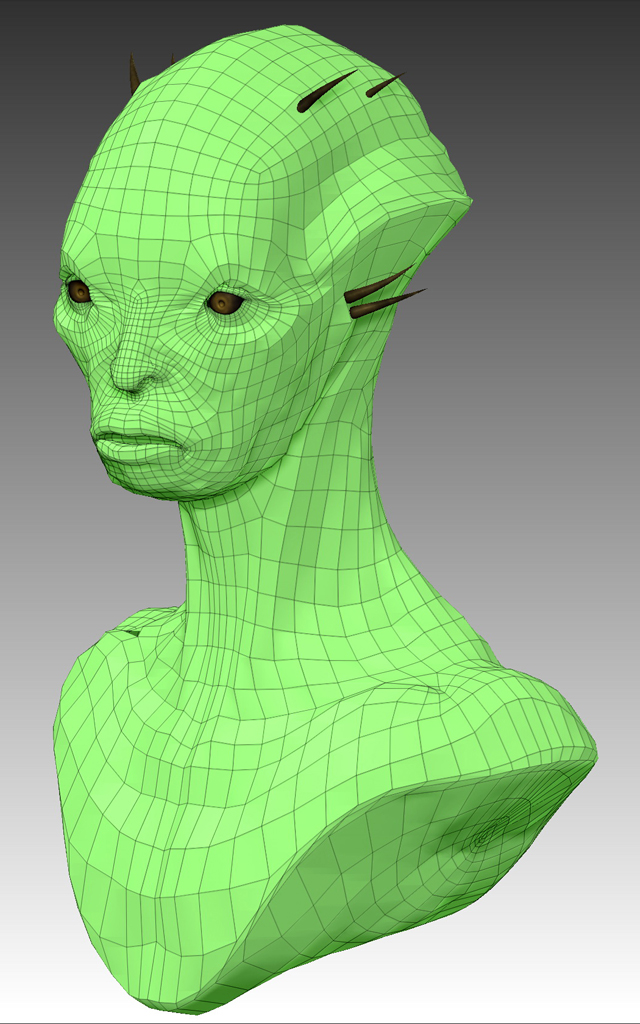
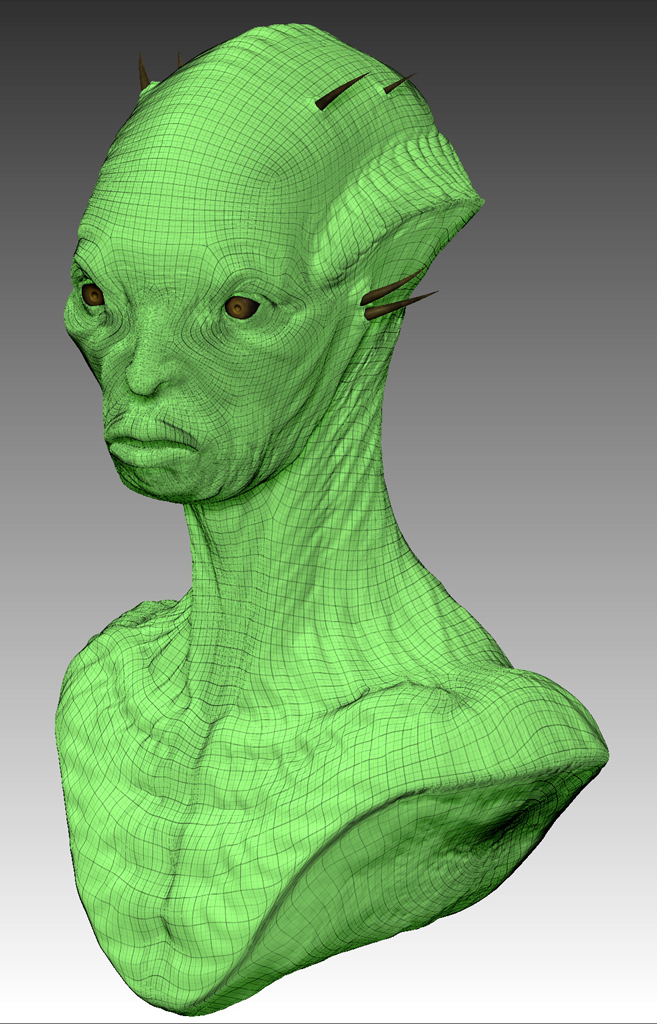
Having ready the base model of the bust with the eyes, the spikes and the base, I imported all of them as an .obj in ZBrush, where the multiple polygroups were transformed into ztools by pressing Groups Split. Keeping the ztool of the bust active, I selected a Clay brush, set Z intensity to 20, Draw Size 25 and Freehand option on, and started defining the volumes of the head, face and torso in loose strokes at first and refined portions later.
From this lowest subdivision level and up, I tried to add as much information I could on every higher sub-d level, using mostly a set of modified standard, slash and pinch brushes, while quite often picking the Move brush, to enhance the volumes and correct proportions. Some times I was in need of flatten and m-polish brushes, to make some areas less convex and to define boney regions of the scull, or parts like the lips outline. In this way, I ended up to sub-d level 6, where the fine detailing of wrinkles, pores, lips surface and such was depicted, using mostly brushes with simple stamps of the ZBrush installation folder.
Some times, using layers during the detailing phase was a safe way to test and lock the intensity levels on the skin surface. After I was done with the detailing, I went back to sub-d 1 level and using a Transpose line and rotate, I gave a rotation angle to the neck, according to the reference photographs. Climbing again up to 6th sub-d level, and some minor refinements on the neck surface were enough.
Among the final touches on the bust, was to apply a surface noise on a discreet scale and depth, to complete the high frequency detailing of the skin.
Texturing:
For the bust:
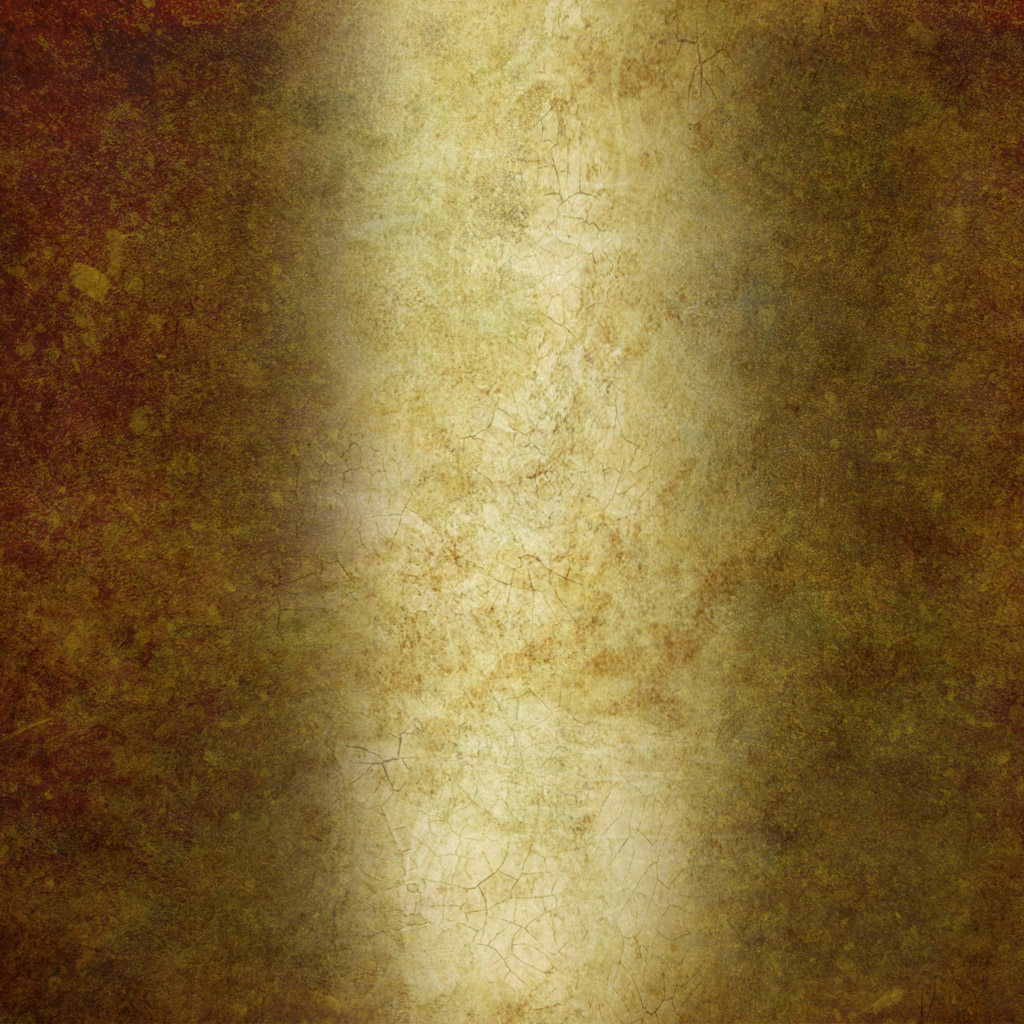
For the colour map of the bust I used Polypaint following the colour tones of the reference in a rather loose way I might say.
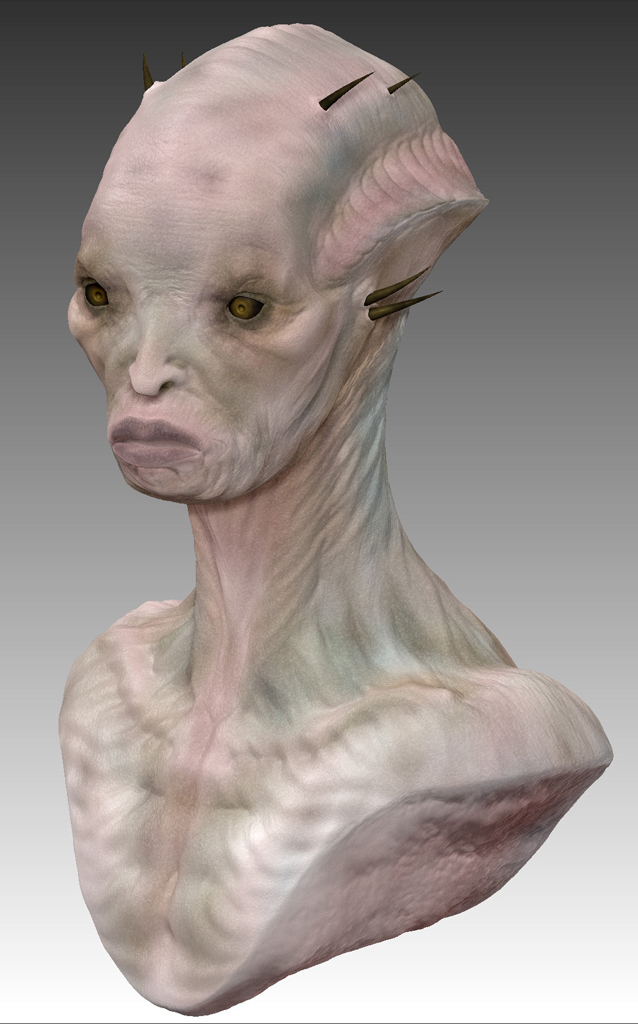
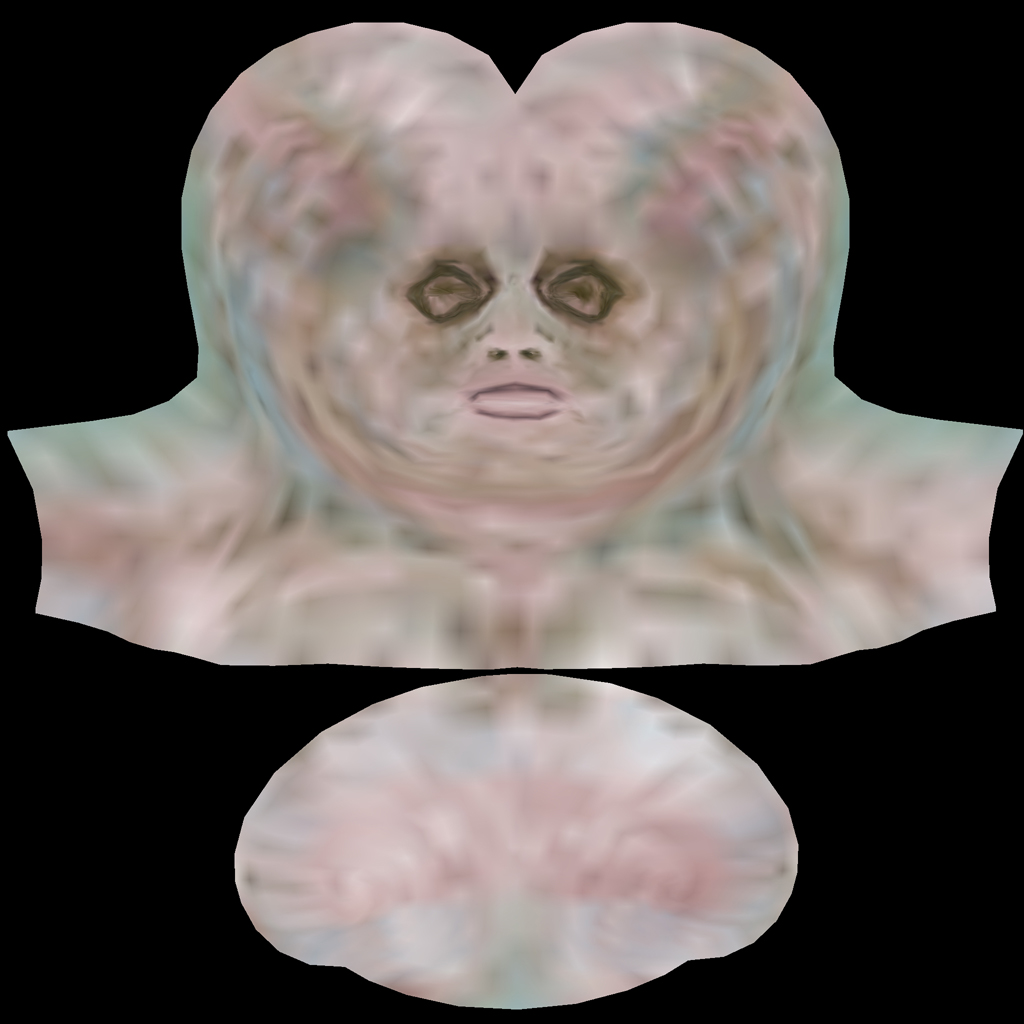
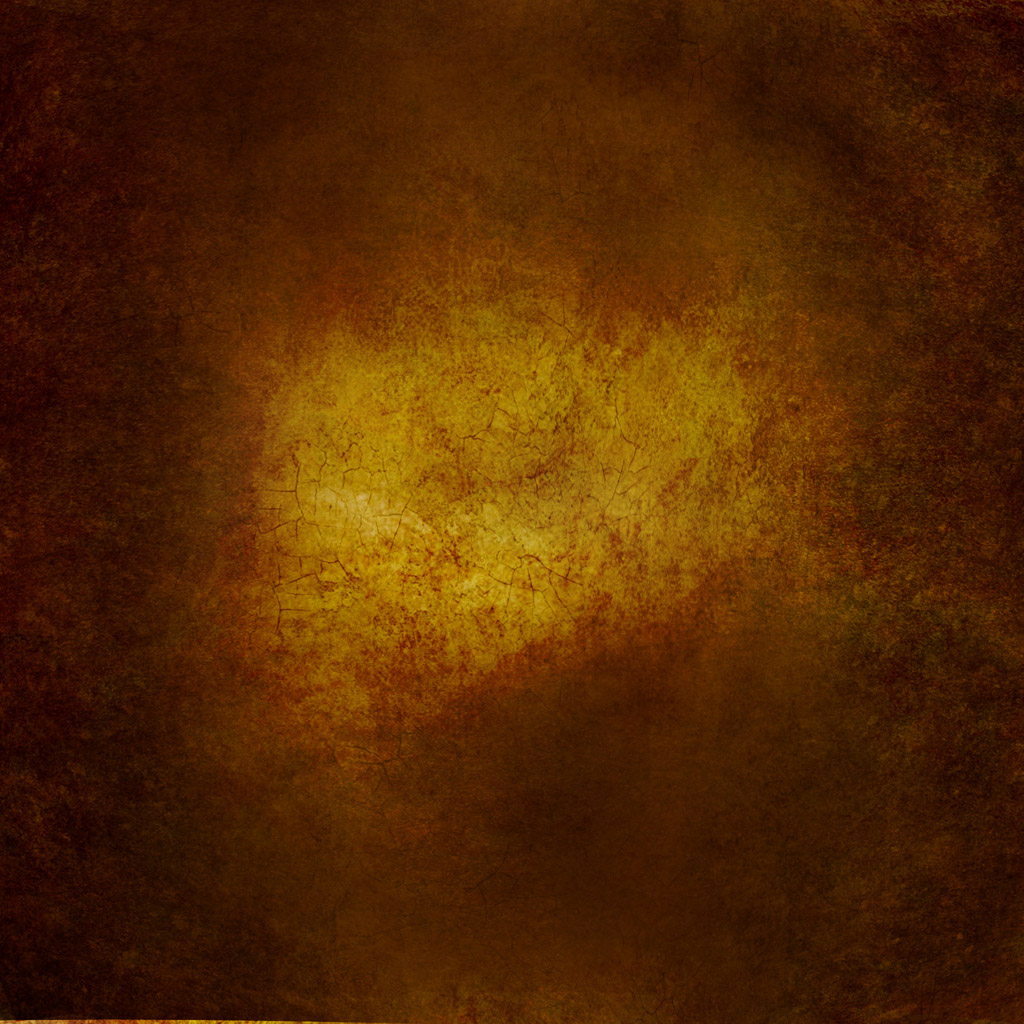
As for the eyes and spikes, I preferred to work with Photoshop on some initial photo reference I got from the web and make 2 textures to use on the above models.
For the pendant:
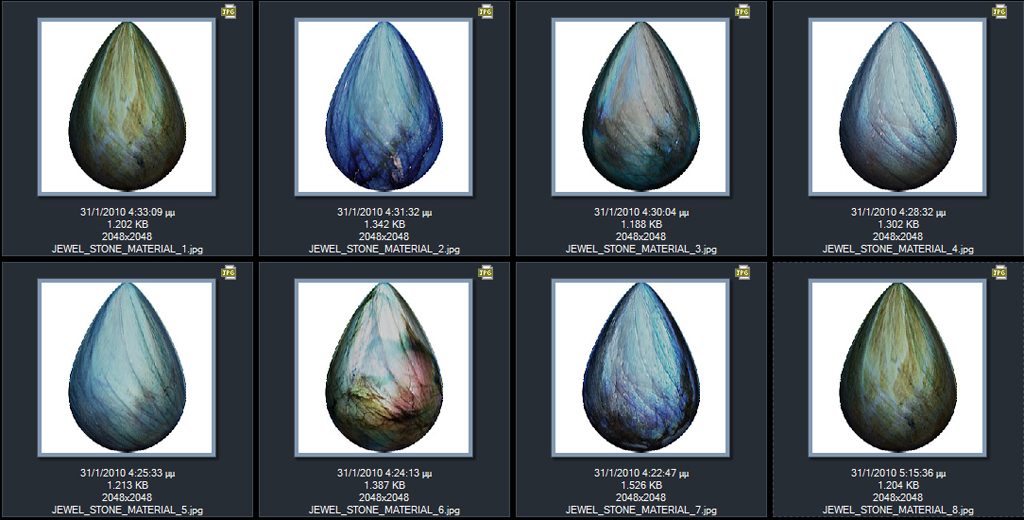
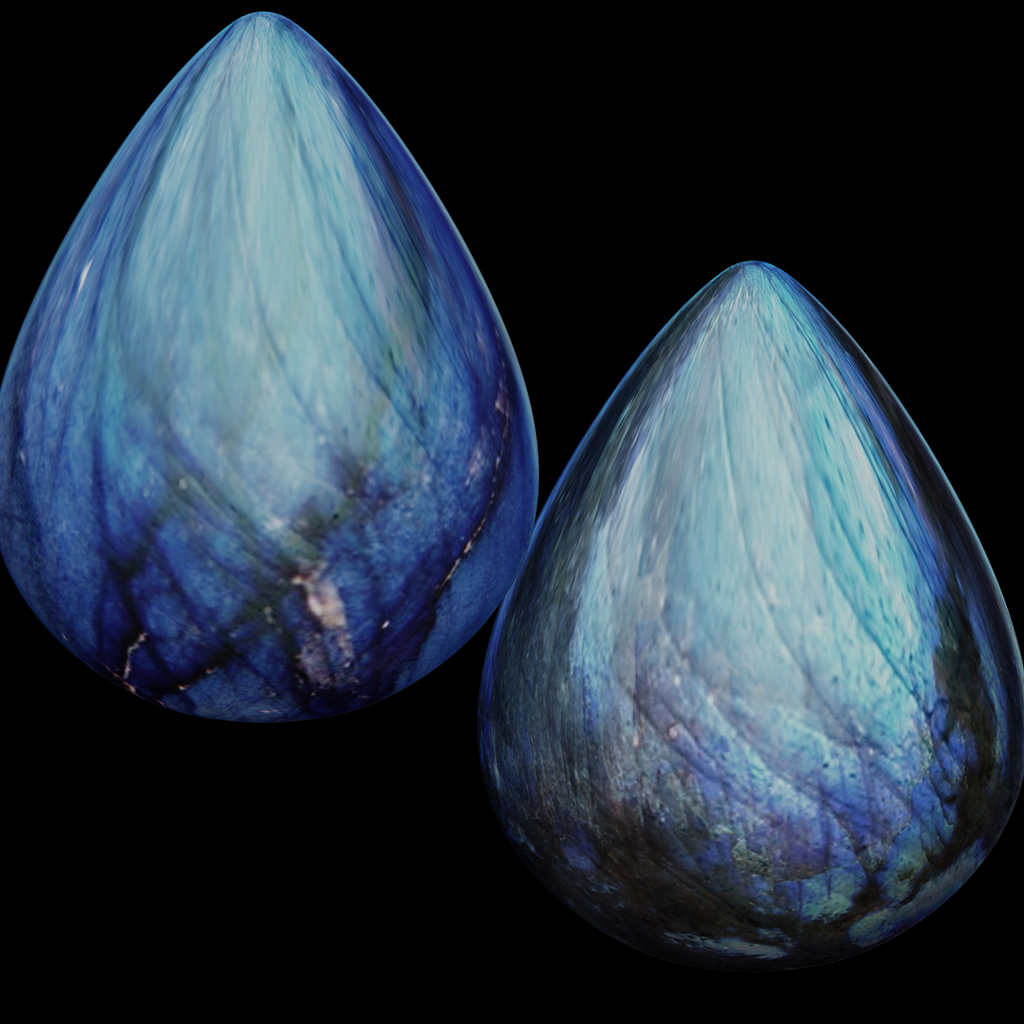
For the metallic parts I decided not to use any textures but simply render with some suitable ZBrush materials; whilst for the precious stone I did a uv map and then applied a texture that I made in Photoshop by blending several ZBrush renders with the Labradorites materials I had available.
Rendering:
Since my render tool would be ZBrush, I had to consider a few things before start work. Antialiasing is one critical issue. In order to have proper antialiasing in my final images, it is a good thing to keep in mind that I need to render in twice as big resolution and shrink it to half later in post.
So, I created a new document with the required dimensions (2657x3636 pixels) and brought my ztool assembly into ZBrush. I activated perspective mode and set the angle of the bust on the canvas according to my liking. In order to save my view and avoid losing it in case of accidentally moving or rotating the camera (or in case of a crash), I opened “Document” drop down menu, and then pressed “ZApplink Properties”, “Cust1” and “Save Views”.
In fact, by giving different names to the files I save with “Save Views”, I can save as many different camera views I like, quite handy tool indeed. (As an alternative method, I could have saved my ztool assembly as .zbr document, converting my geometry to pixols and thus locking my camera view; Then I could still modify my lights as much as I wanted, do detailing with stamps on the model, paint it with colour and render it with materials.)
Next was the phase where I should make my masks for use later in Photoshop, to crop off the several layers of rendered materials. With Flat render active, I selected one ztool at a time and rendered the same image over and over again, getting eventually a set of renders with different ztools depicted in pure white for each image (and all the rest in grey) ready to be used as masks. After I was done with my masks, it was time to set up lights and get ready for the actual renders.
Talking about lights, the light rig I used for most of the materials – except the ones that already had specific lights information embedded – was a simple 3 point light rig.
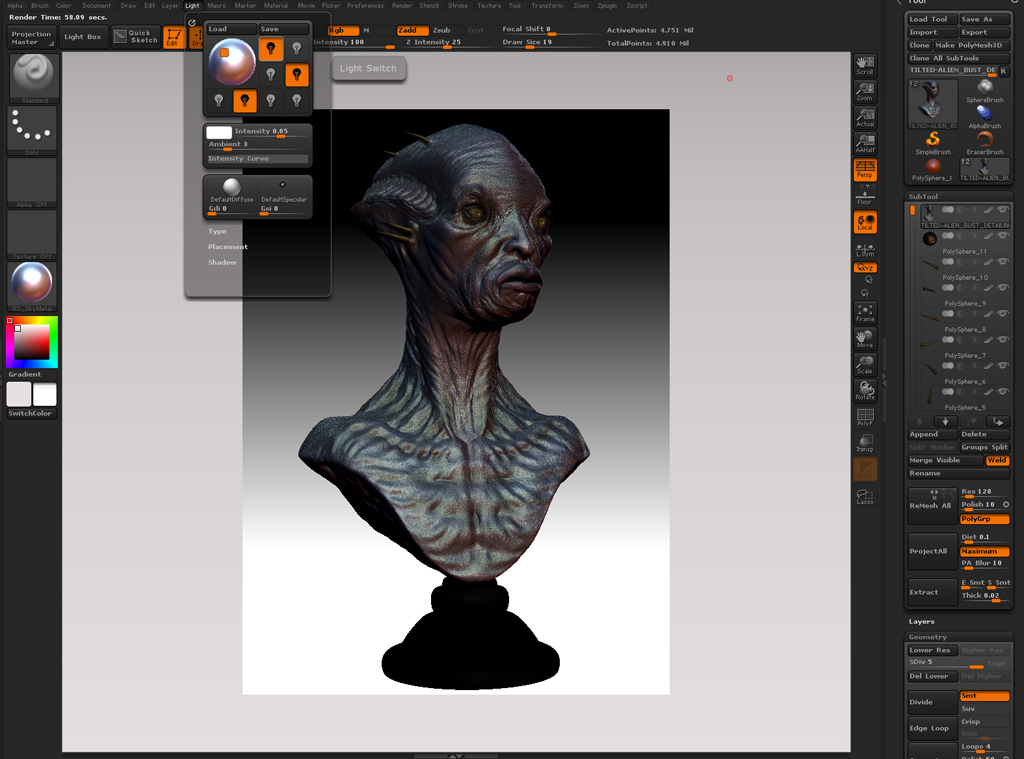
For the rendering, I selected several MatCap materials, applied them each time on my model, and rendered them with “Best Render” most of the time ( quite a few MatCaps though look better shadowed with Preview Render.)
The selection of the above materials was done according to the type of renders I looked for, like diffuse, speculars, rim lights, cavity and so on.
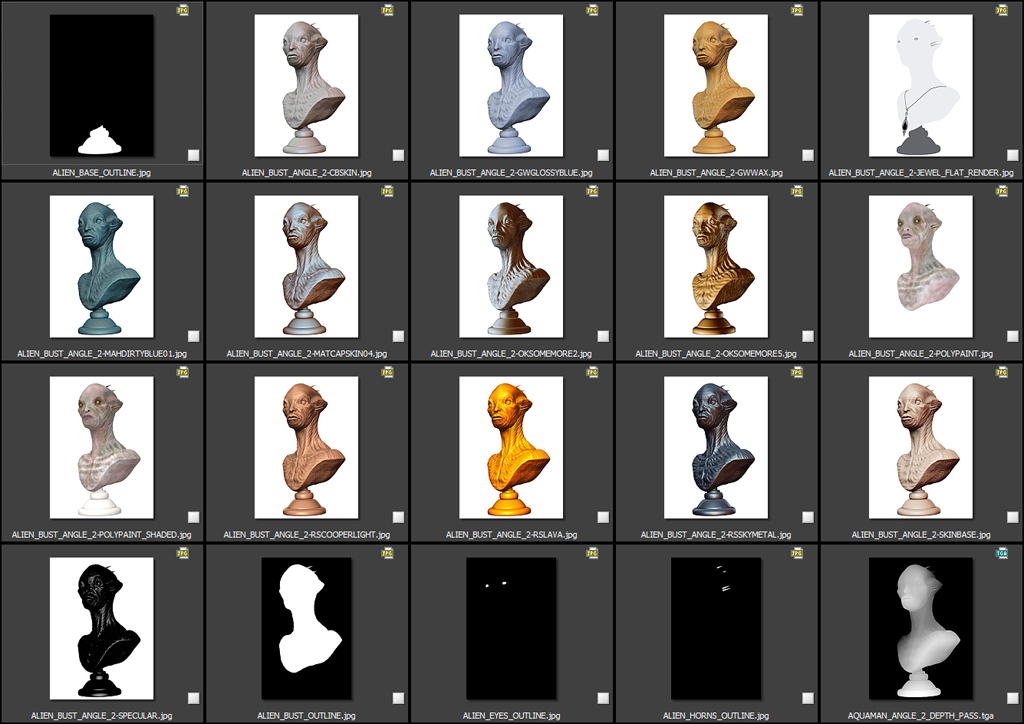
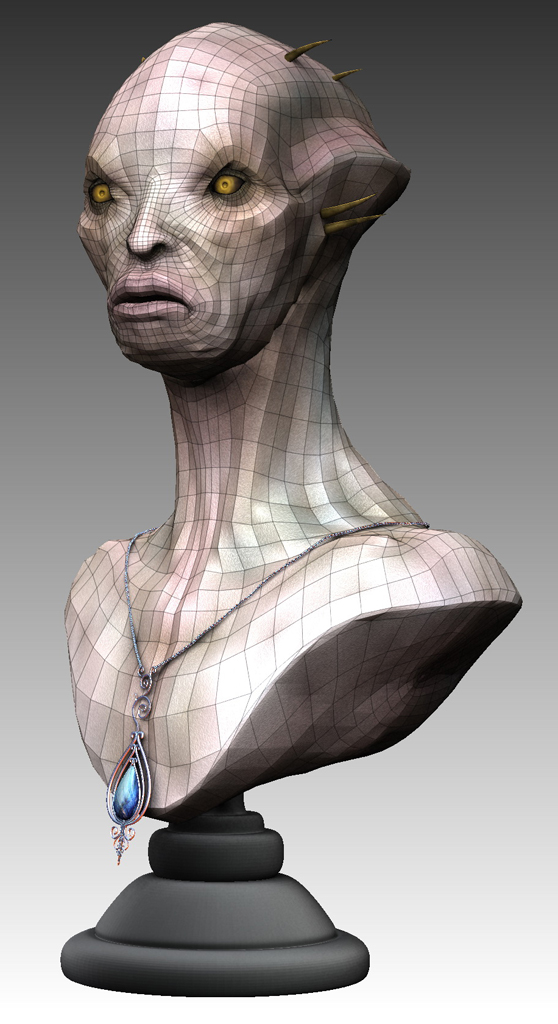
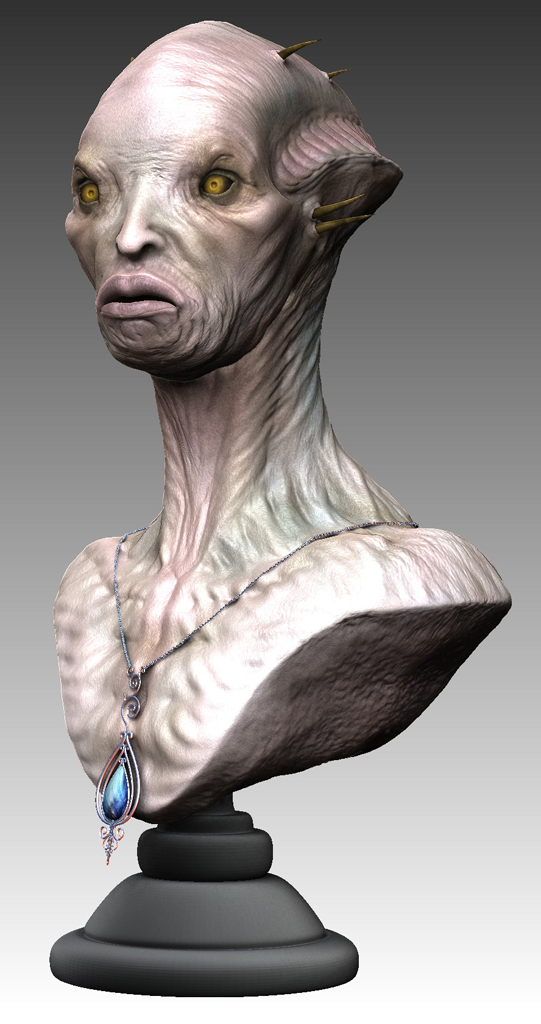
Ofcourse, the same procedure was followed for every other angle of the bust.
Compositing:
In order to compose the several renders I made in ZBrush with the different materials and for the 5 different angles, first thing I did was a test compositing for one of the angles so that I can replicate this to all the others as soon as I am happy with the result.
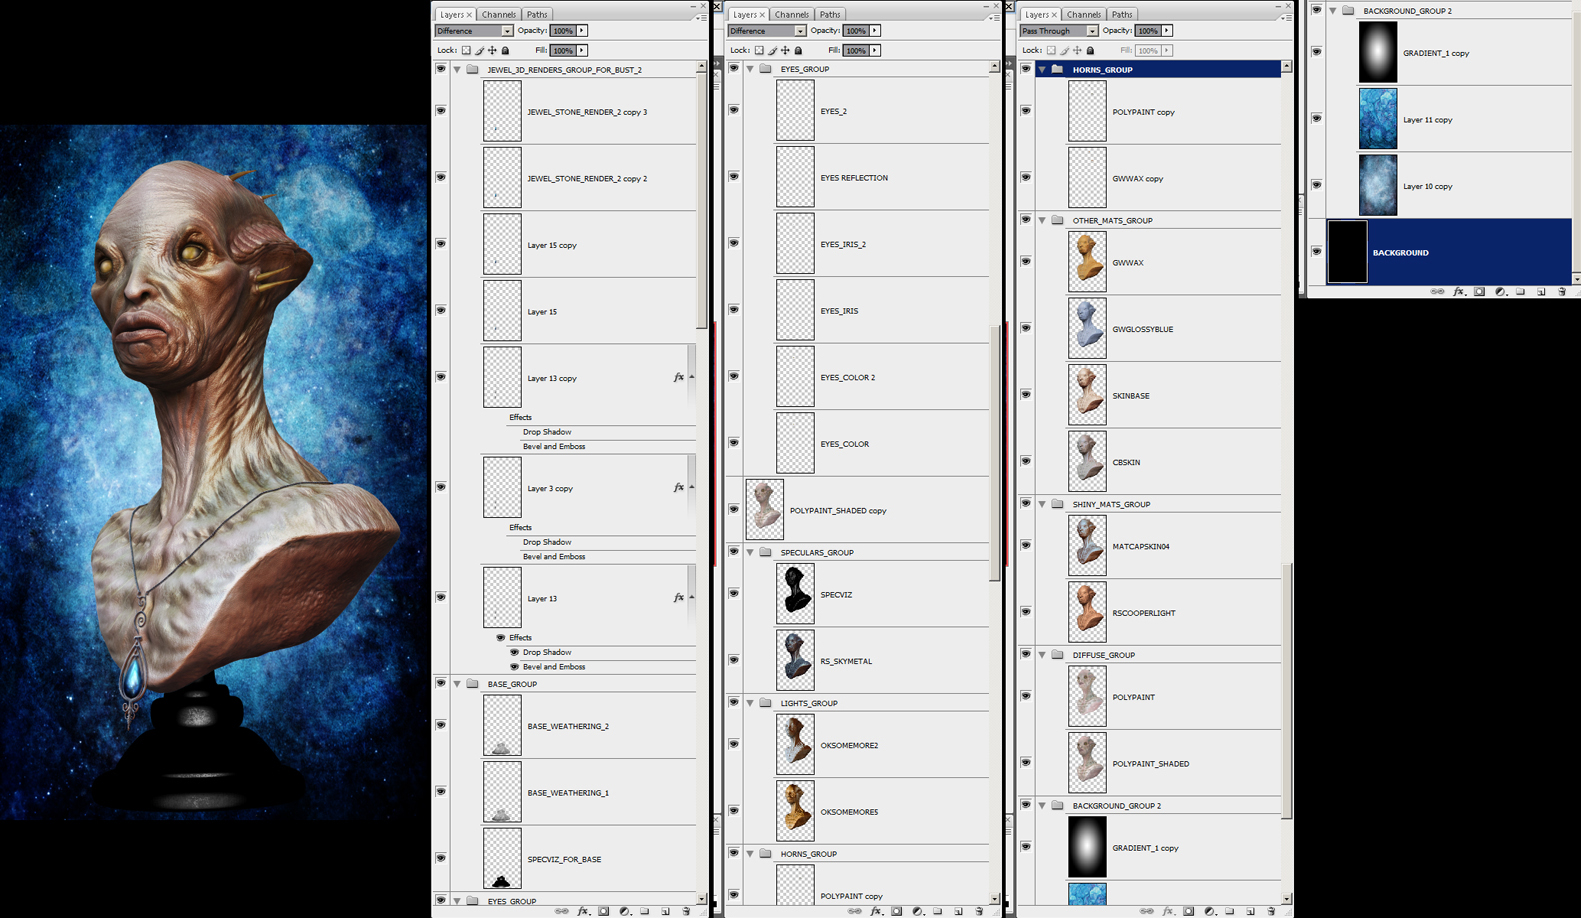
I imported the renders in Photoshop, gathered them in groups, respectively to their material attributes (diffuse groups, specular groups, lights groups, etc) and saved masks selections for every part of the bust to use them later on to separate materials.
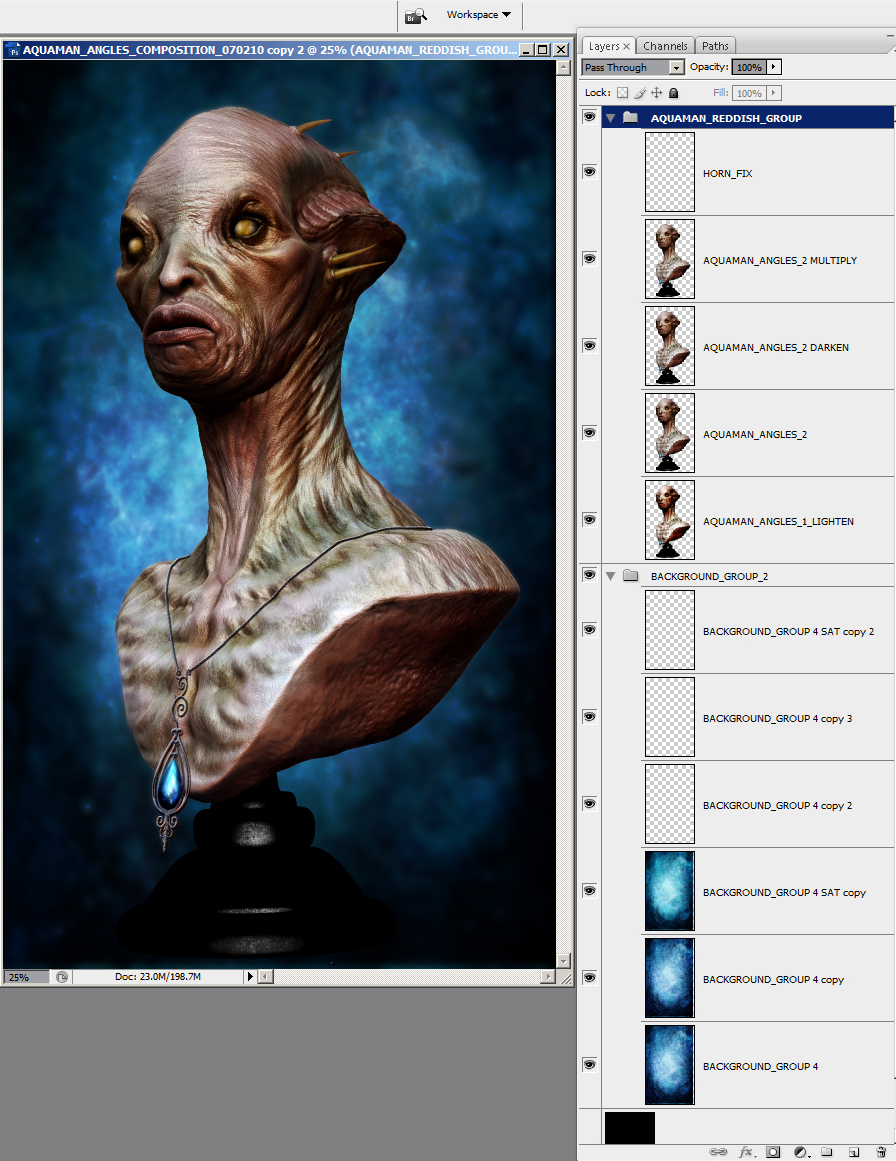
Then, I started the actual compositing work, blending the multiple layers in different modes and opacities.
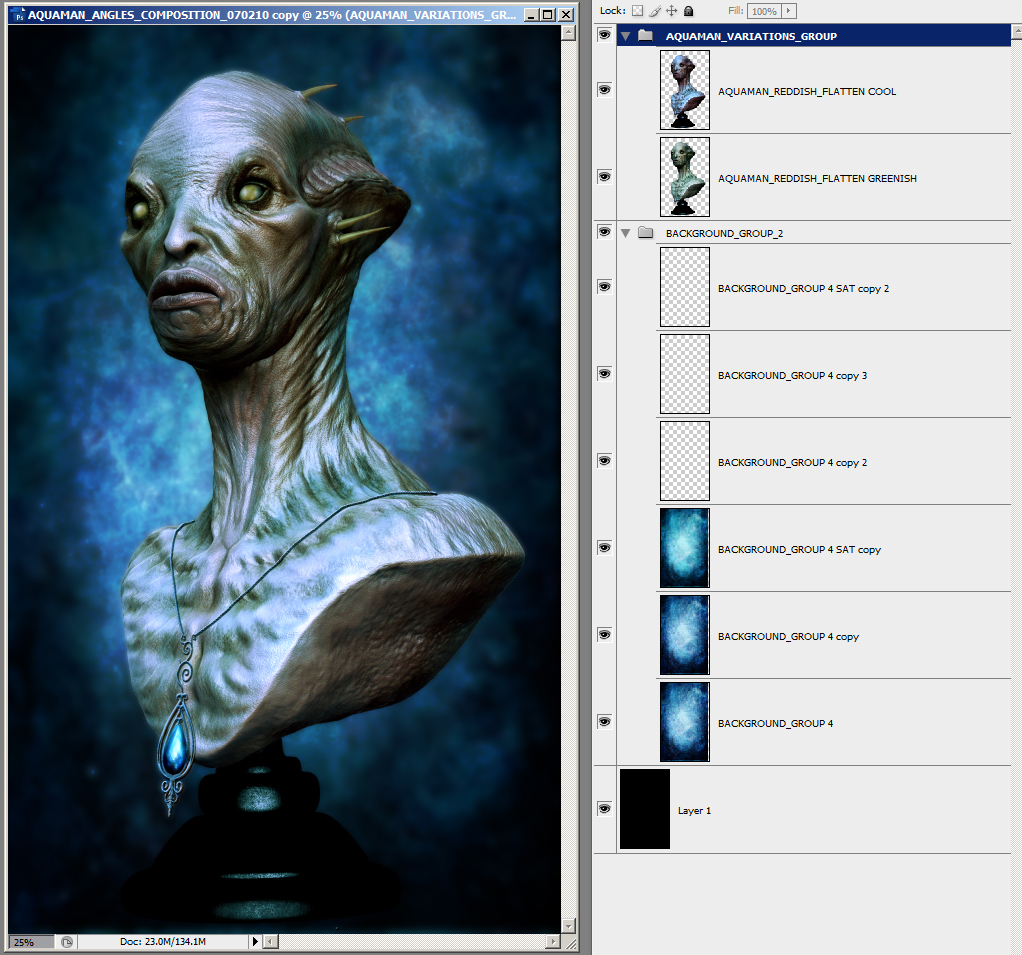
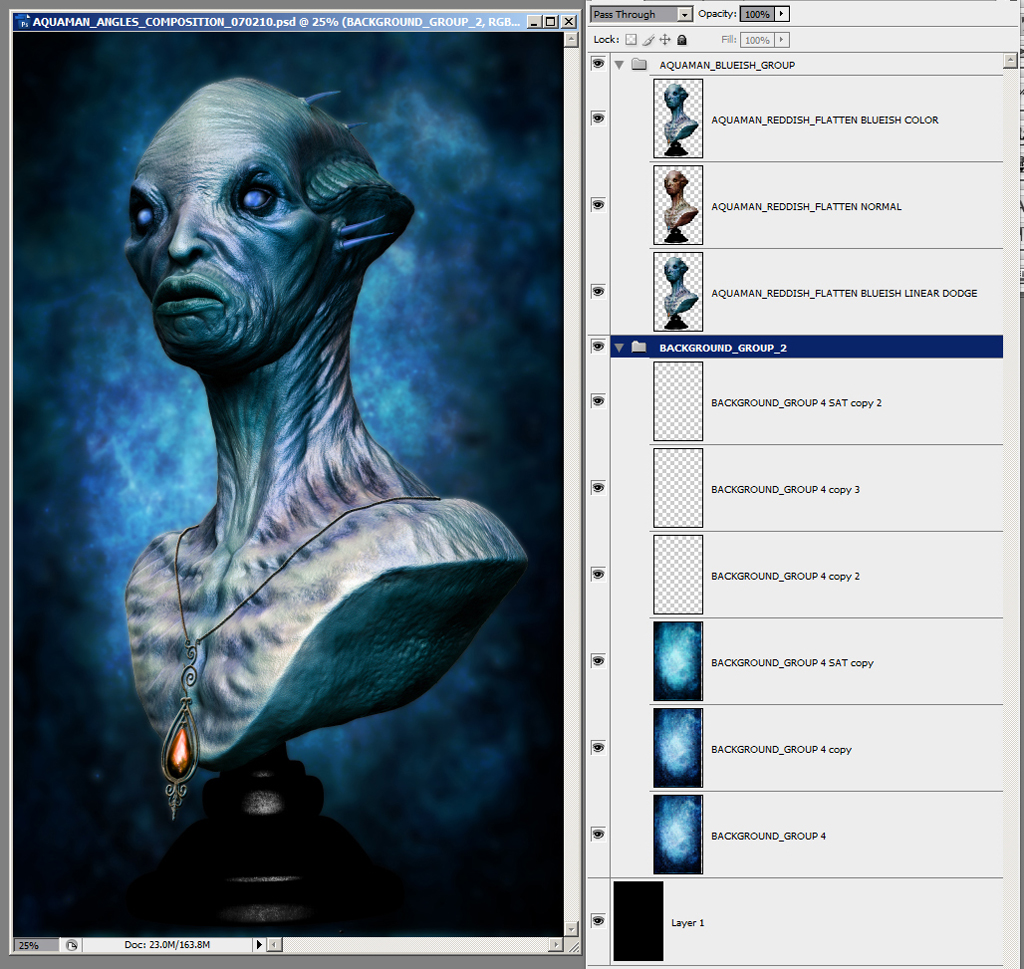
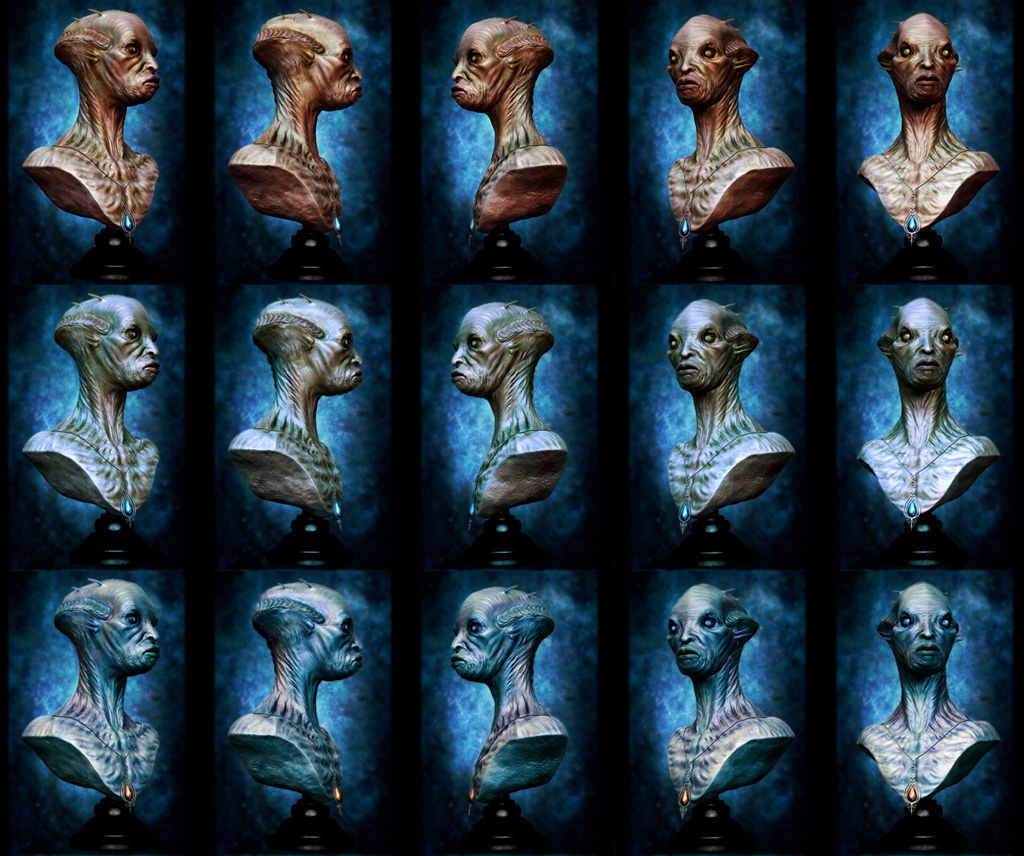
Initially I thought of going for skin tones similar to the reference photos of the actual statuette, but after some interesting combinations of layers in Photoshop I decided to work on 3 different approaches as for the colour tones; one with warm, fleshy tones, sticking more closely to the colour choices of the reference, one blueish version, to serve as a pale/cool-tone approach with an eerie look, and a greenish-blueish combination, perhaps a bit more iridescent flavour, as an alternative between the other two.
Using the Lens Blur tool in Photoshop with the depth pass as a layer mask on the flatten composition, I tried to give a feel of depth of field in my renders, while with Lens Correction I added some Chromatic Aberration additionally as my aim to simulate a photograph look.
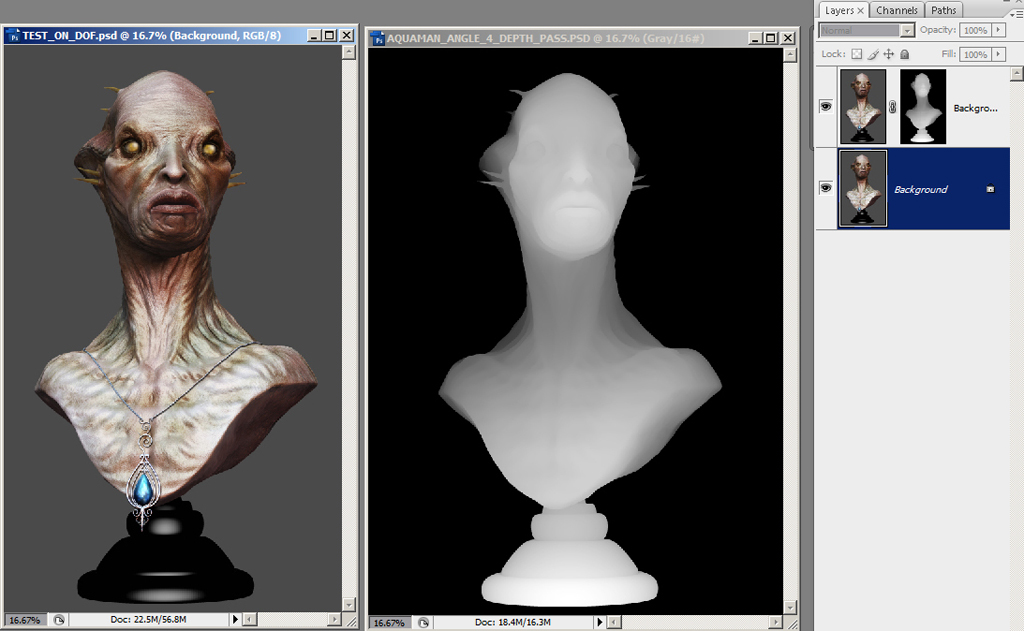
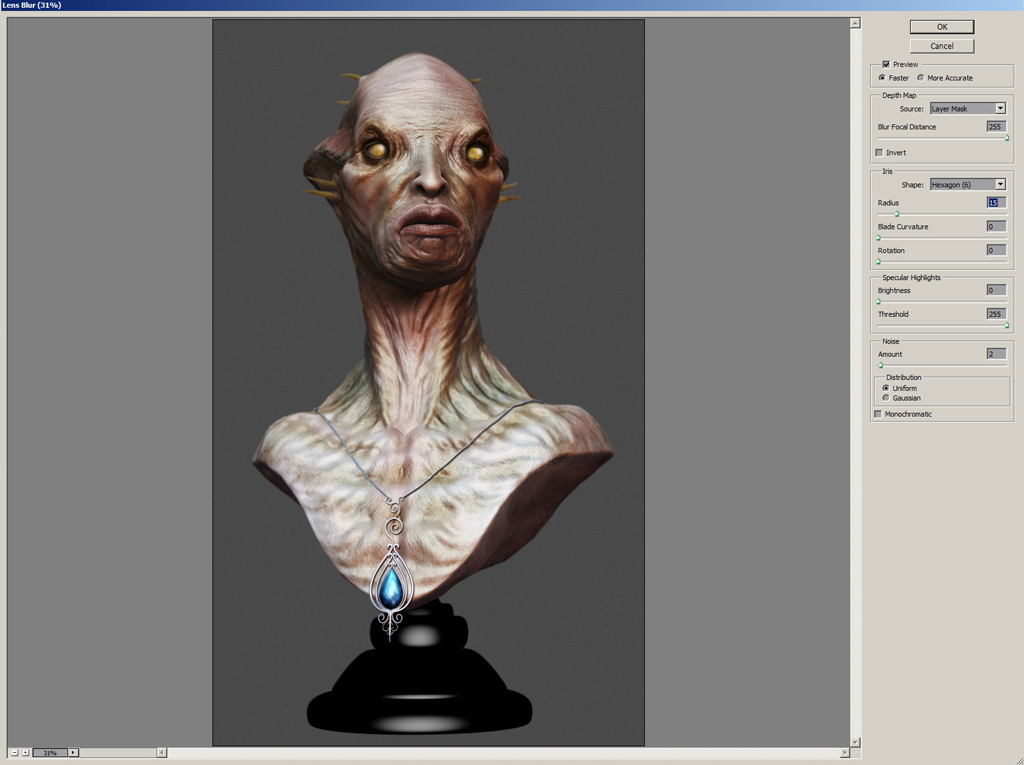
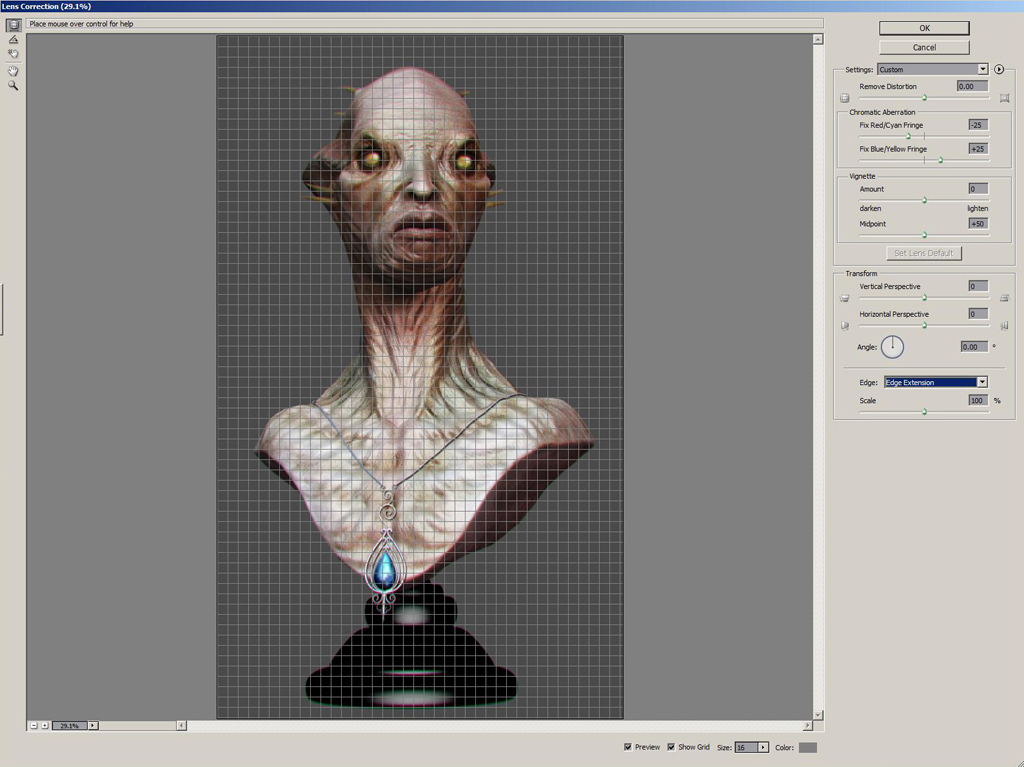
For the background, again I mixed together some photographic reference with layers of coloured strokes and other detailing in Photoshop and ended with a couple of images that somehow remind of deep sea environment, presenting several blueish tones along with debris and plankton-like particles. These images were put together with a radial gradient vignette mask, to serve as the template for the background, before final touches of colour correction, saturation and levels tweaking take place.
3D Printing:
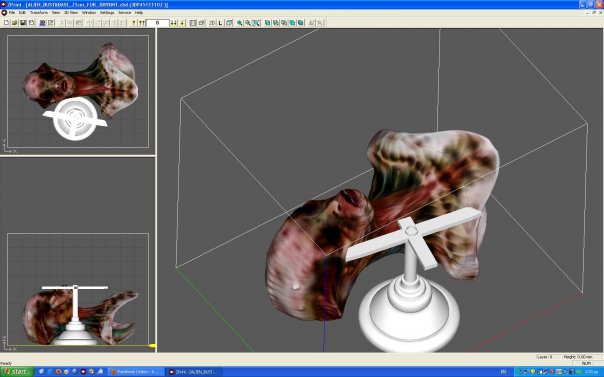
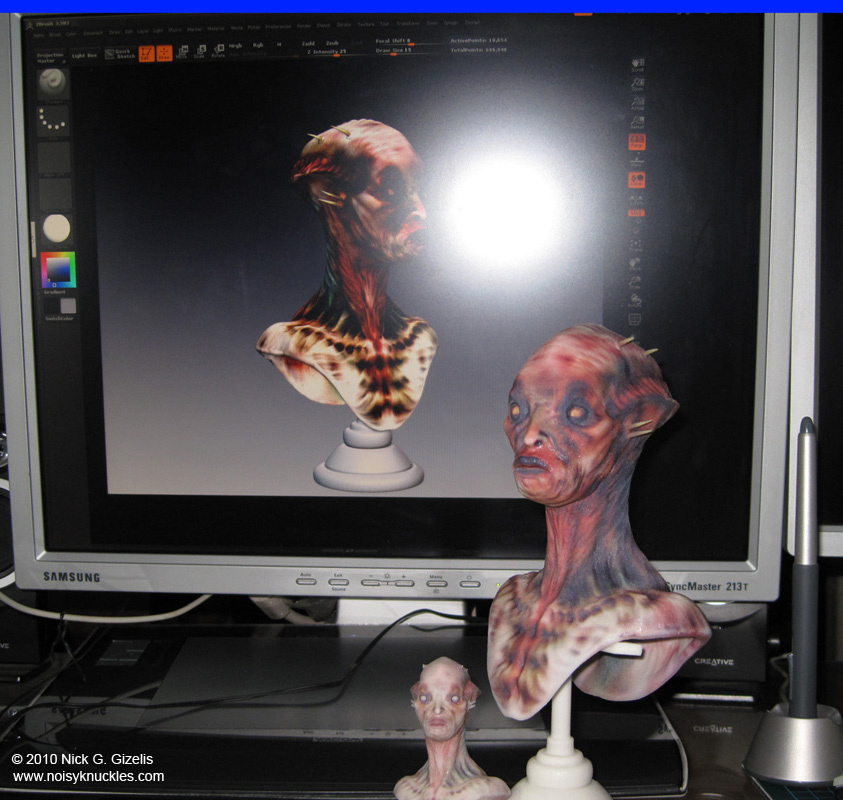
The decision to go for a 3d print of the Aquaman bust was something I thought a few days after I was done with the digital output. I wanted to make a colour 3d print this time, since the other two 3d prints of my models done in the past did not have any colour information. In the meantime, I was told by a friend that a 3d scanning and 3d printing facility here in Athens can produce colour 3d printed models, so I contacted with them and started right away modifications work on the bust to make it 3d printer friendly.
The geometry format specs for a colour print would be .wrl (vrml 2), so I had to export the bust in this format from within ZBrush. Concerning the geometry specs, all the parts needed to be waterproof (close meshes) – and they already were so. Very pointy parts, like the spikes, had to be rounded off a bit at the tips, so that they will be safer to be printed without break. Especially for the spikes, in a different scenario, I could have printed them separately from the main bust - so that it is safer for them to be printed without break - making sure that their lower ends fit well to the holes in the scull – a lesson learnt for the future..
Regarding the colours of the model, there was an issue as for the 3d print; the polypaint colour information was too subtle for the printer to catch properly, so I had to enhance the colours somehow. Firstly, I converted the polypaint to a bitmap texture, so that I can work with it in Photoshop. After that, I baked the displacement, cavity, Ambient Occlusion and normal maps from the bust model, so that I can use their information in Photoshop as well. After some work with blending the above maps with the diffuse data and several tests with contrast, levels and saturation values, I ended with a bitmap that was applied to the bust in ZBrush. At that point, I noticed some seams on the texture that needed fixing, so I used ZApplink to transfer image captures of the texture to Photoshop, where a couple of strokes with the healing brush were enough to eliminate the seams.
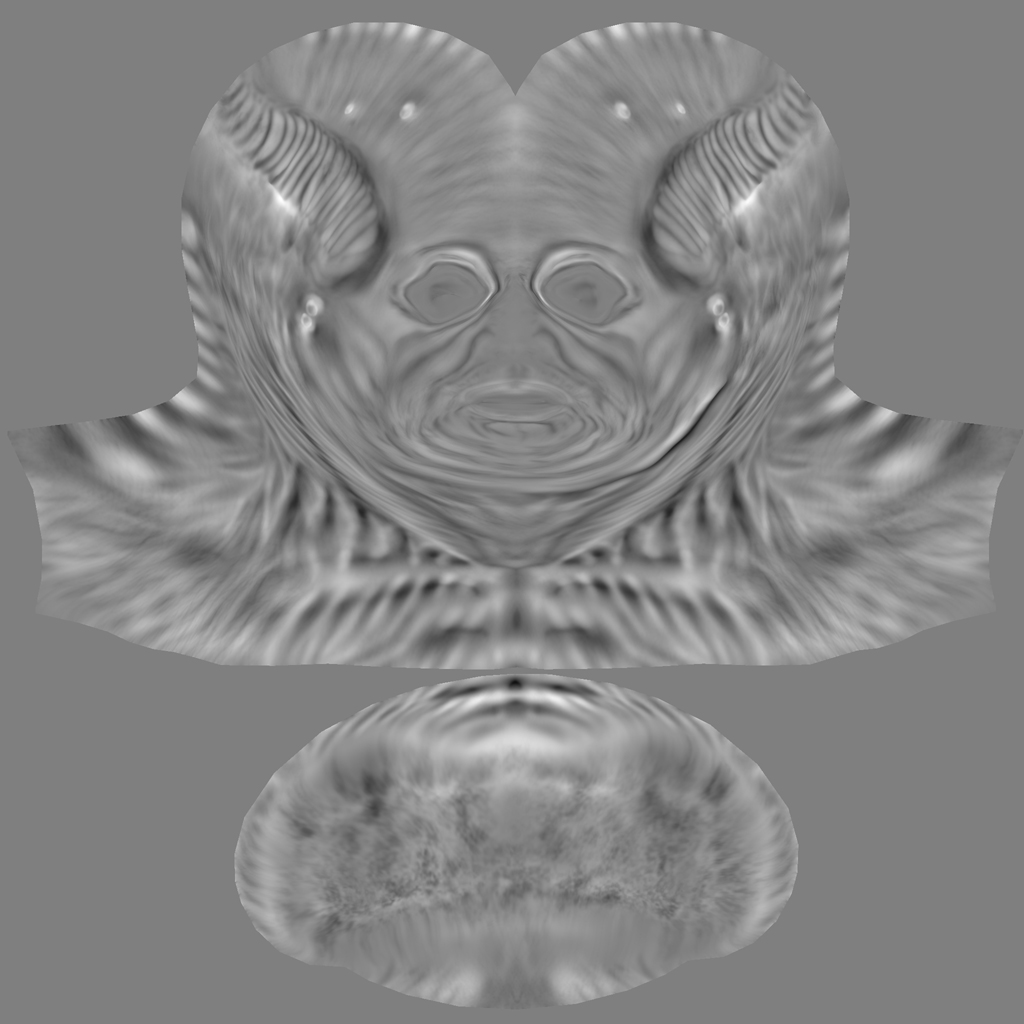
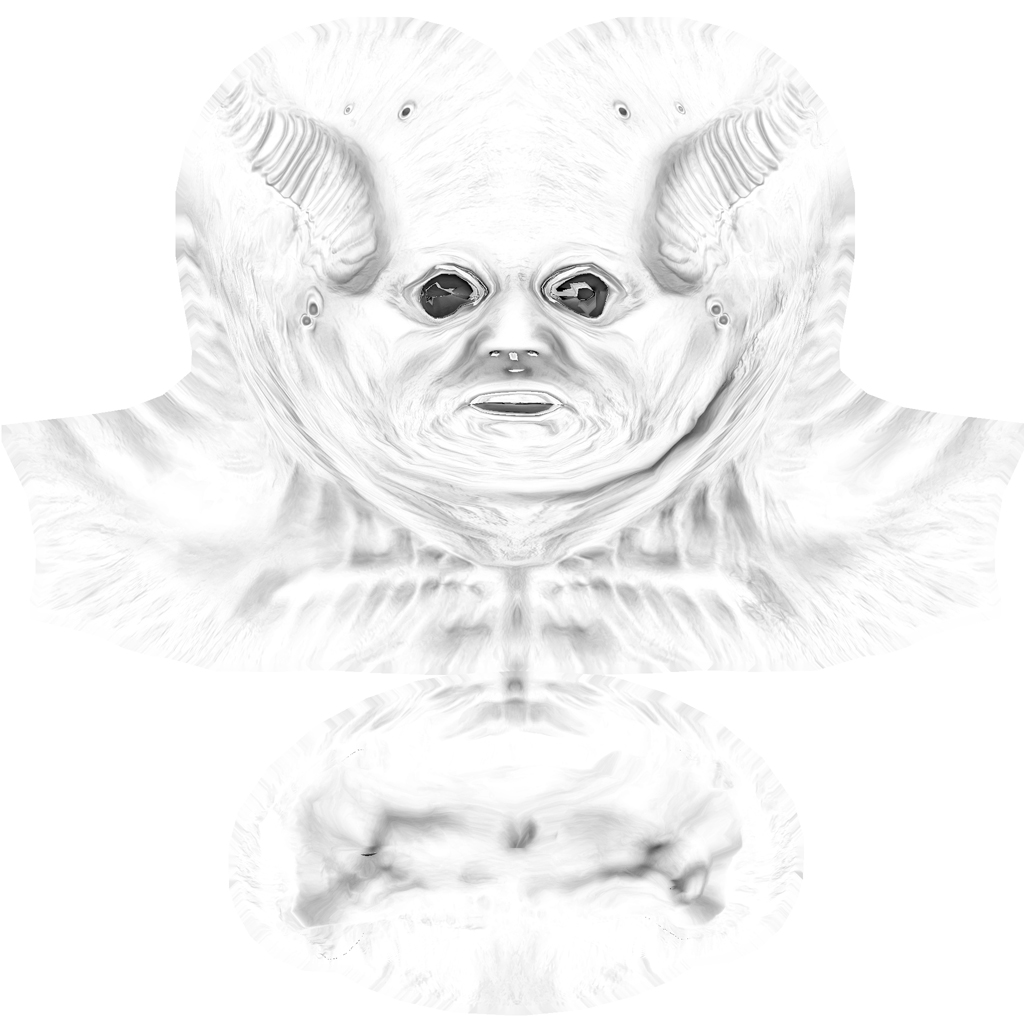
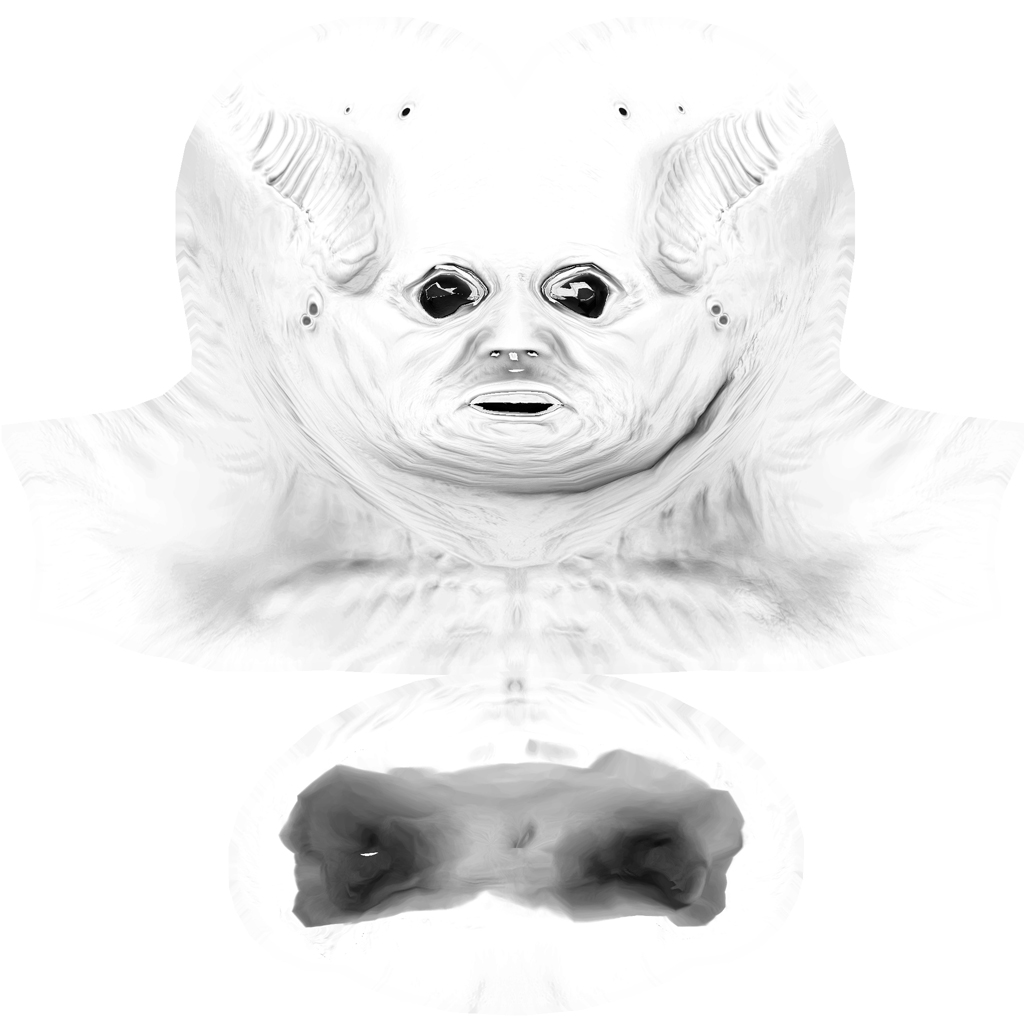
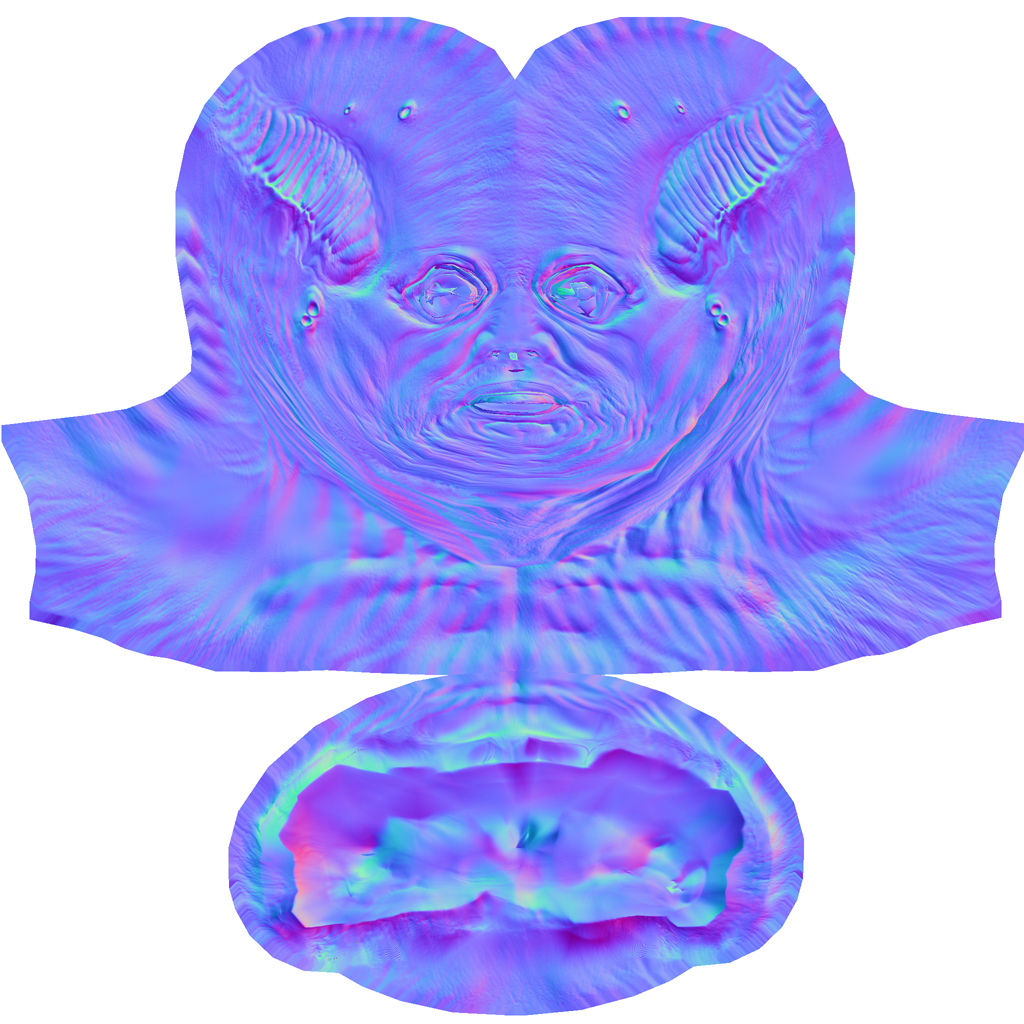
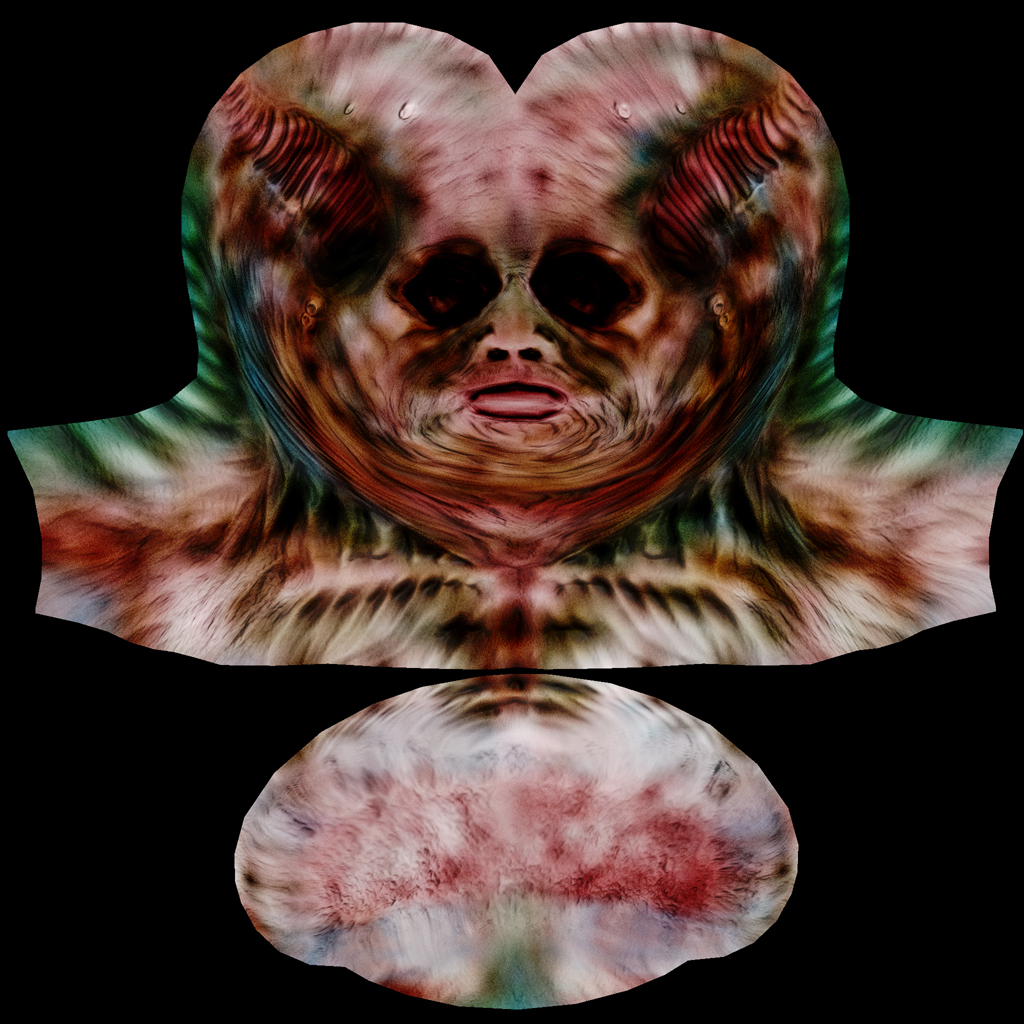
Initially, I sent to the 3d printer a solid bust model. As it appeared, the product was rather heavy and expensive for the required size (about 17 cm total height), so my next move was to make a hollow bust instead of the massive one.
First thing, into XSI I made a shell of a certain thickness out of the base bust (the subdivision 0 level mesh) and exported it as an .obj. Thankfully, the UV map did not need any fixing, at least on the visible parts of the bust.
In ZBrush, I imported the above obj as the subd 0 level of the currently active high poly sculpt and replaced the initial cage model. From that point, the model – as it was expected - presented quite a mess, so the work by hand was about to start. With brushes like move, flatten, polish and tweaked standard, the surfaces began to take the appropriate shape, between the several subdivision levels and a uniform thickness had to be completed, while making sure I had backface masking active on my brushes, so that my strokes do not affect the outer surface of the shell, but only the inner polys.
Ofcourse, much of the sculpting information on the surface was lost in the end, so I had to use – being careful with the settings - the project tool between the initial solid sculpt and the new hollow one, in order to transfer all the detailing information to the bust shell.
For the base to become a hollow shell, I worked with the initial model in XSI, but now I modified the spline that was used for the “revolve by axis” mesh, so that the final model reminds of a bell (being hollow).
So, another valuable lesson at this point would be that it is much preferable to begin sculpting in ZBrush with a base model that is already a hollow shell, than making a shell out of the final sculpt.
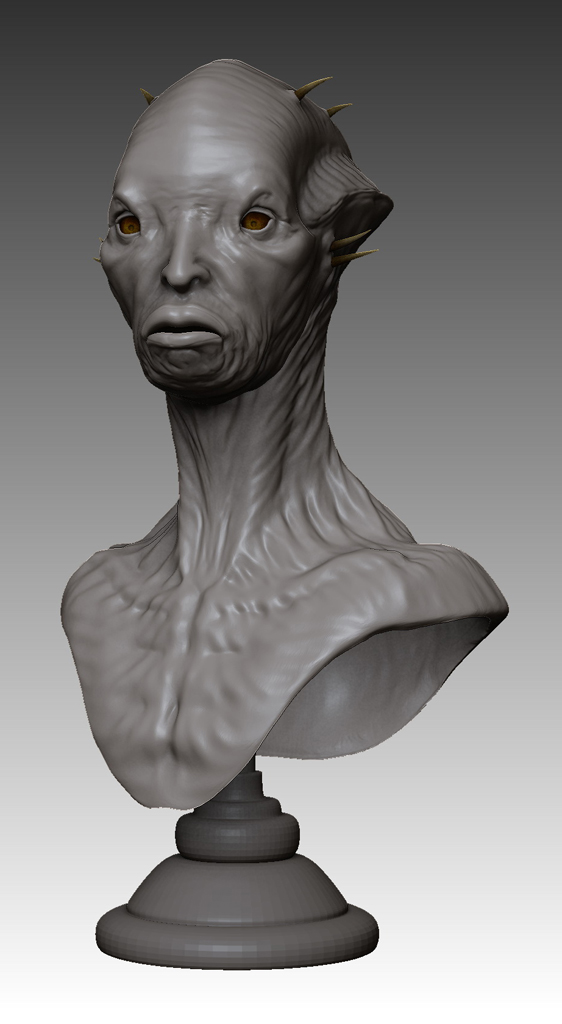
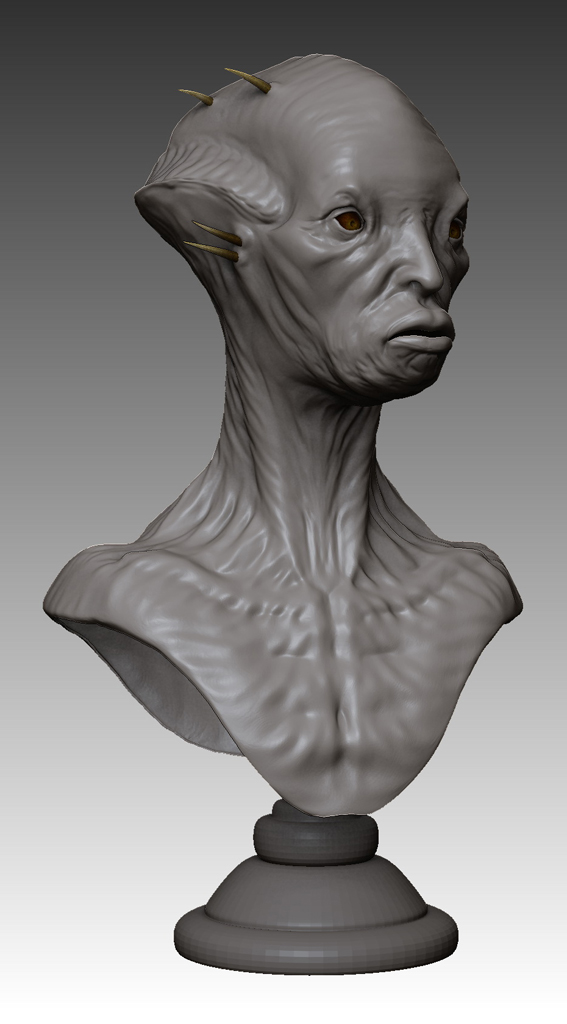
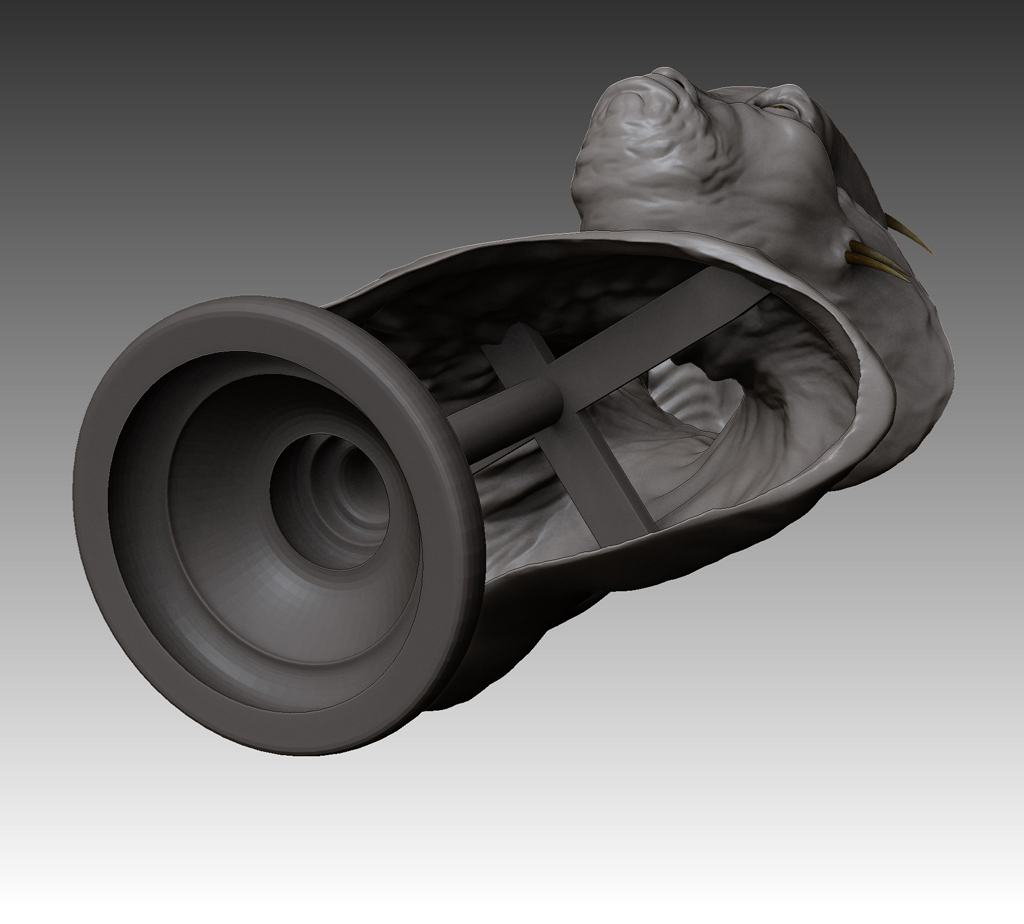
Eventually, having finished with all the nitty gritty of the modifications, I exported the assembly in .wrl format and it was off to the printer.
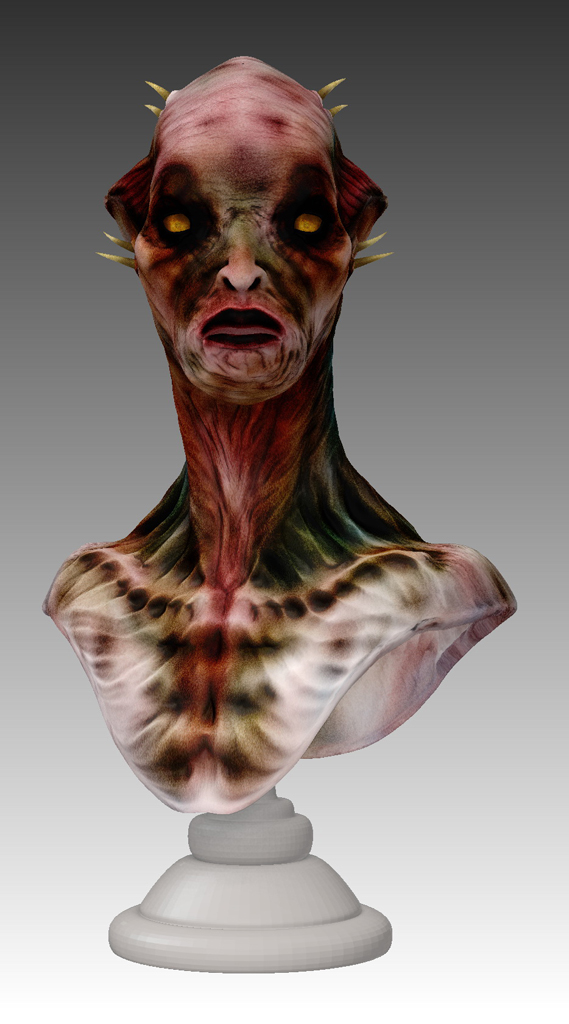
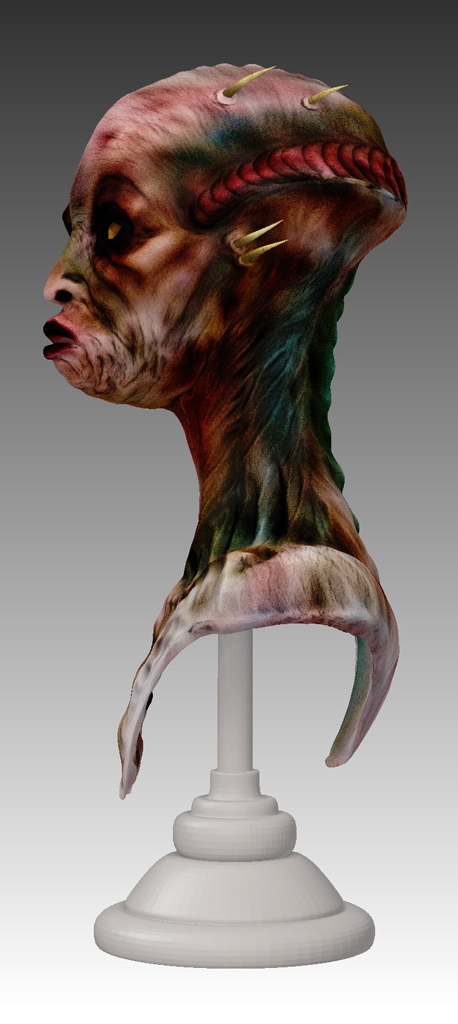
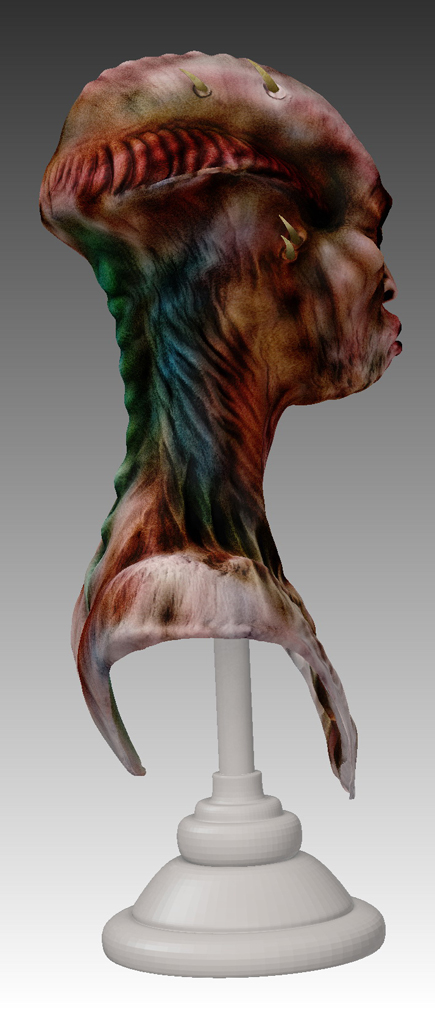
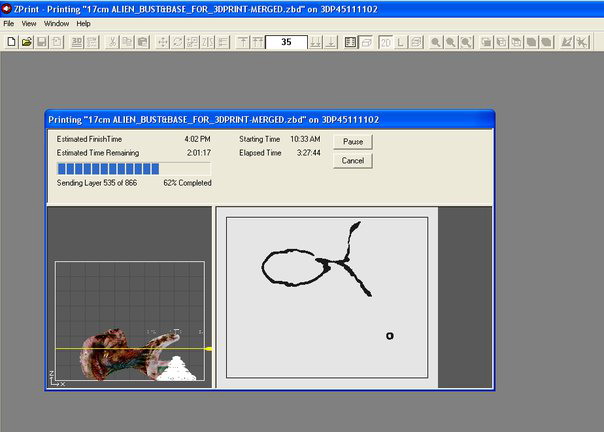
The 3d printing was done here in Athens, by 3DPS facilities, http://3dps.net/ , with a ZPrinter 450.
Many thanks to Phaedra and Panagiotis, the heads of 3DPS, for their great support :)
Conclusion:
The work I did for Aquaman was a valuable, interesting and enjoyable journey. I had the luck to work on a beautiful concept by a great traditional artist like Aris Kolokontes and to explore the several aspects of a pipeline to replicate digitally a physical model in a rather loose way, lending to it some of my own taste.
The whole range of steps needed to transform a sculpted mesh into a digital composition presents a great compilation of interesting, challenging “problems” that ask for solution, ensuring an exciting and ever learning procedure.
I truly hope that this small verbal rough draft I did would be of some interest for an aspiring digital character-loving person, helping someone to learn and enjoy from my work paths and from my mistakes. I myself try to do that all the time by learning from others’ work.
Thank you for bearing with me :)
You can also find this tutorial in 3D Total website, www.3dtotal.com/tutorial/softimage_xsi/head_bust_aquaman_character/aquaman_head_bust_01
Nick G. Gizelis Online Portfolio. All images and designs on this site are copyrighted © to their respective owners.
Permission is needed for any other use than private if not noted otherwise.


